Directed Xpresskit DBALL2 설치 매뉴얼 - 페이지 4

{카테고리_이름} Directed Xpresskit DBALL2에 대한 설치 매뉴얼을 온라인으로 검색하거나 PDF를 다운로드하세요. Directed Xpresskit DBALL2 19 페이지. Ford5 remote start ready (rsr) installation
Directed Xpresskit DBALL2에 대해서도 마찬가지입니다: 설치 매뉴얼 (12 페이지), 설치 매뉴얼 (19 페이지), 설치 매뉴얼 (18 페이지), 매뉴얼 (14 페이지), 설치 매뉴얼 (13 페이지), 설치 매뉴얼 (14 페이지), 설치 매뉴얼 (16 페이지), 설치 매뉴얼 (20 페이지), 설치 매뉴얼 (15 페이지), 설치 및 빠른 참조 매뉴얼 (16 페이지), 설치 매뉴얼 (18 페이지), 설치 매뉴얼 (16 페이지), 설치 매뉴얼 (18 페이지), 설치 매뉴얼 (16 페이지), 매뉴얼 (19 페이지)
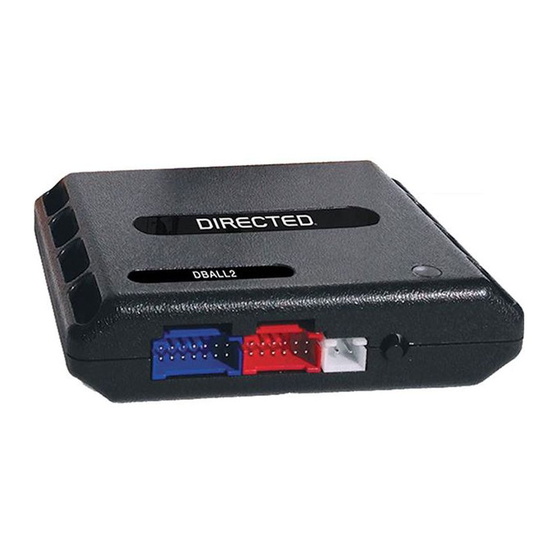
Directed Xpresskit DBALL2 설치 매뉴얼
Platform: DBALL2
Firmware: CHRYSLER7 Remote Start Ready Installation (RSR)
Installation with T-Harness THCHD3
OBDII
Diagnostic 16-pin Connector
(vehicle side)
OBDII
Harness
in driver kick panel
With the exception of the OBDII Diagnostic connector, all connectors are displayed from the wire side.
OR
T-02
6-pin connector (vehicle side)
(-) Driver Door Trigger:
Violet
Vehicle
6
Headlamp Switch
5
(6-pin Connector)
4
3
(MUX) Parking Lights: White/Brown, pin 3
2
1
These T-Harness connectors are
NOT interchangeable. They will fit
ONLY the appropriate vehicles.
6-pin
Connectors
T-01
NOT Used
PTS Switch
Brake Connector
1
2
3
4
Brake:
Dk.Green/Lt. Green,
pin 1
Brake Output: Yellow/Red
(-) RAP Off: Orange/Black
(MUX) Parking Lights Output: Violet/Brown
OBDII
Diagnostic 16-pin Connector
(vehicle side)
Keyless
Ignition
Node
THCHD3 Rev. 1
(Optional T-Harness)
The Remote Start
Safety Override
Switch MUST be in
the ON position.
Remote Start Safety
Override Switch
RF
Prog. button
DBALL2
LED
You can connect to either a XL202
RFTD OR a SmartStart module.
Refer to the SmartStart/XL202
Installation Notes for more information.
© 2016 Directed. All rights reserved.
Rev.: 20160610
Page 4
OBDII