Clarke 07127A 사용자 설명서 - 페이지 2
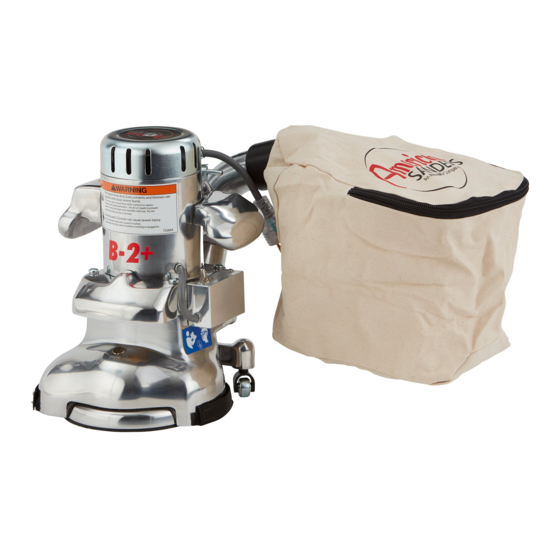
{카테고리_이름} Clarke 07127A에 대한 사용자 설명서을 온라인으로 검색하거나 PDF를 다운로드하세요. Clarke 07127A 8 페이지. American b-2+ dc 7" edger
Clarke 07127A에 대해서도 마찬가지입니다: 운영자 매뉴얼 (20 페이지)

Switch Replacement
1-Remove the two screws (13) securing the right handle (42)
2-Remove switch retaining nut (68)
3-Pull switch from handle (Fig. 25)
4-Remove tape from switch to expose wiring connections
5-Disconnect all wires from switch
Assembly Hints
Connect the light wires with the incoming power wires on the switch so that
the light is on when machine is plugged in
Always retape the switch to prevent shorting between metal objects inside
machine
Switch and on/off plate are indexed for proper orientation and should be
installed with the off position to the back
Pigtail Replacement
1-Remove the two screws (13) securing the right handle (42)
2-Disconnect the black and white pigtail wires from the switch and the ground wire (52) from the handle housing
3-Remove pigtail and strain relief assembly (9) from Handle housing
Assembly Hints
Always retape the switch to prevent shorting between metal objects inside machine
Motor Brush Replacement
1-Remove the screw (7) retaining the top cover (25)
2-Disconnect wires from field to brushes
4-Remove the two screws (53) securing each brush holder assembly (56)
5-Push the holder down and over to remove it from the field housing (Fig. 26)
6-Disconnect shunt wire and pull brush (59) out toward the brush side
Speed selection switch replacement
1-Remove four screws (6) securing the cover (19)
2-Remove the switch retaining nut (36)
3-Disconnect wires from switch
Assembly Hints
Black wire from field and diode ground wire connect to the Hi side of switch and the White wire from the field and the diode
terminal wire connect to the Lo side
Diode Replacement
1-Remove four screws (4) securing the field housing (28)
2- Remove field housing assembly by holding the handles and gently tapping down on the lower housing
3-Remove the diode securing nut (33) from inside the housing (Fig. 27)
Assembly Hints
Insulating washers (32) must be intact and installed on both sides of the field housing. The dust baffles can be retained with
super glue to keep them in place while reinstalling the field housing assembly if they were loosened during disassembly.
Fig. 25
Fig. 26
Fig. 27
56043143
Page 2
