Blackberry 8700g - GSM 시작하기 매뉴얼 - 페이지 9
{카테고리_이름} Blackberry 8700g - GSM에 대한 시작하기 매뉴얼을 온라인으로 검색하거나 PDF를 다운로드하세요. Blackberry 8700g - GSM 23 페이지. Roadpost international services, edition: roadpost mail
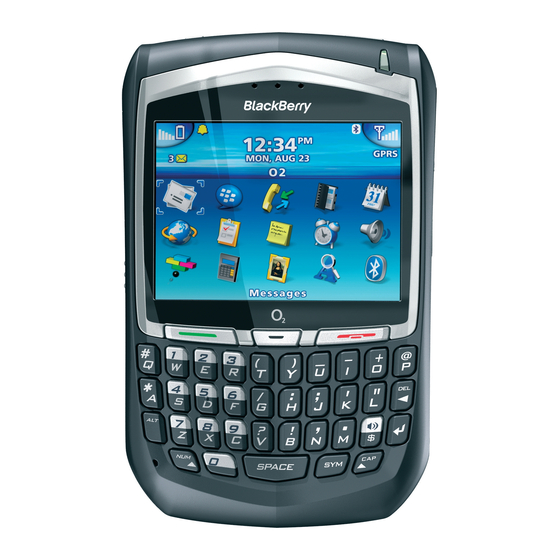
Blackberry 8700g - GSM에 대해서도 마찬가지입니다: 포켓 매뉴얼 (2 페이지), 안전 및 제품 정보 (11 페이지), 시작하기 매뉴얼 (28 페이지), 시작하기 매뉴얼 (24 페이지), 시작하기 매뉴얼 (28 페이지), 사용자 설명서 (15 페이지), 사용자 설명서 (12 페이지)
3.
Insert the battery so that the connectors on
the battery align with the connectors on your
device.
4.
Replace the battery cover.
5.
If the battery is charged, your device turns on
and the confirm date and time dialog box
appears.
If the date and time are incorrect, click
•
Edit. See "Set the date and time" on
page 13 for more information.
If the date and time are correct, click OK.
•
Charge the battery
1.
Connect the small end of the USB cable to
your device.
2.
If required, slide the plug blade attachment
into the power adapter.
PUSH
3.
Plug the power adapter into a power outlet.
4.
Charge the battery to full power.
Note: If you install the BlackBerry Desktop
Software, you can charge your device by
connecting it to your computer. See "Can I charge
my device by connecting it to my computer?" on
page 14 for more information.
Connect to the wireless network
On the device, if the power is off, press the Power
button. Your device should connect to the wireless
network automatically.
To connect to the wireless network successfully,
your wireless service must be active, and you must
be in a wireless network coverage area. See the
wireless network coverage chart on the inside
front cover of this guide for more information.
When your device is not connected to the wireless
network, you can continue to use features that do
not require a connection to the wireless network.
For example, you can type and save draft email
messages, manage tasks, or use the calculator.
Note: If you use T-Mobile Instant Email Service
with BlackBerry, the account setup process might
begin automatically the first time that your device
connects to the wireless network. See "Setting up
your email" on page 7 for more information.
5