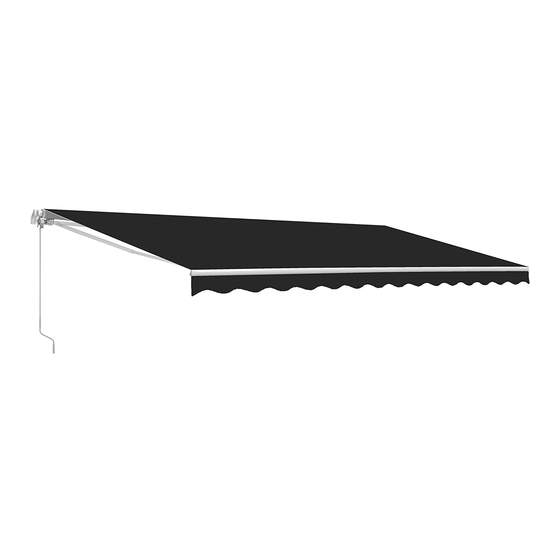
Aleko Victoria Series 설치 매뉴얼 - 페이지 14
{카테고리_이름} Aleko Victoria Series에 대한 설치 매뉴얼을 온라인으로 검색하거나 PDF를 다운로드하세요. Aleko Victoria Series 17 페이지. Sizes 6.5x5 8x6.5 10x8
Aleko Victoria Series에 대해서도 마찬가지입니다: 설치 매뉴얼 (20 페이지), 설치 및 사용 설명서 지침 (12 페이지), 조립 설명서 (14 페이지)

STEP 5: Mounting the Awning
1. Now that the wall brackets are secure and in place, it is time to
install the awning onto the brackets.
2. At least two ladders or sturdy chairs are required to install the
awning.
3. Put the original expansion bolts on the wall brackets and
tighten them.
4. Finally, fasten all expansion bolts.
5. Using the hand crank or a motor (if applicable), fully open your
awning. The front bar should be level.
6.
Congratulations! Your awning is installed. If you are happy
with the height of the front bar (awning pitch), sit back and
enjoy! If not, please read on.
OPTIONAL INSTALLATION
(f)
ADJUSTING THE AWNING PITCH/ANGLE
Each awning comes with a pre-set pitch (angle) that is considered ideal. However, if you need to make an adjustment, it
can be done in just a few easy steps.
IMPORTANT: Raising the front bar will reduce the pitch (angle) of the fabric, thus
II
increasing the risk of rain water pooling on the fabric. To prevent the awning from
• •
collapsing due to rain water weight, you must retract the awning when unattend
ed. Failure to do so could result in a broken awning or personal injury.
Note: Be sure that the front bar is adjusted to be completely even. Any misalignment will result in improper retraction.
Tighten
Loosen
to adjust
12
