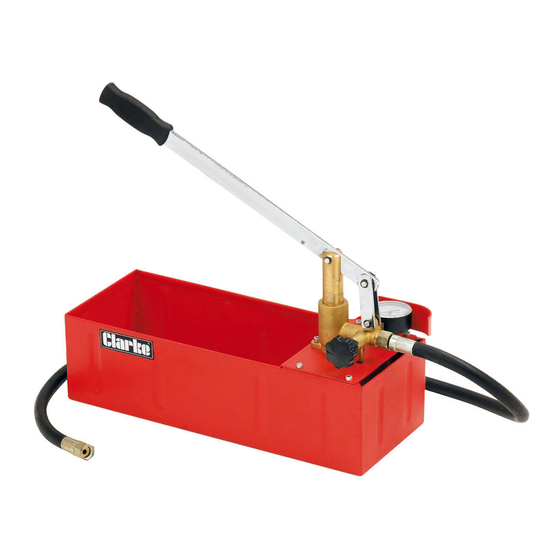
Clarke 5060205 운영 및 유지보수 지침 매뉴얼 - 페이지 5
{카테고리_이름} Clarke 5060205에 대한 운영 및 유지보수 지침 매뉴얼을 온라인으로 검색하거나 PDF를 다운로드하세요. Clarke 5060205 8 페이지. Pressure test pump

USING THE PRESSURE TEST PUMP
POINTS TO CONSIDER
1. If you are not a trained plumber or heating engineer, seek professional
guidance on the correct use of this equipment in conjunction with the
system to be tested.
2. Establish the correct test pressure for the installation to be tested by
referring to the system specification and /or the manufacturer's
recommendations. Given that each pump stroke can produce approx 20
bar of pressure, take care not to over-pressurise the system under test.
3. Ensure the heating system is fully OFF before commencing testing.
4. Any system to be tested must be fully sealed off in order for the test
pressure to build up. When testing is finished, the system must be returned
to its original design state before it can be used again.
5. If the system includes pressure relief valves, these must be temporarily
disabled if the system is to be tested at more than their pre-set relief
pressure. After testing, the pressure relief valves must be re-activated.
6. The system to be tested must be fully filled with water throughout and the
test pressure built up.
BEFORE USE
1. Check the condition of the hose and ensure all connections are tight and
secure. Remove the locking pin to allow full movement of the arm/pivot
assembly.
2. Connect the pressure hose to the pump outlet and the other end to the
system to be tested. A suitable point on the system will need to be chosen
and if necessary, an adaptor used to connect the pump outlet hose to the
fluid system.
CAUTION: NEVER EXCEED THE RECOMMENDED TESTING PRESSURE FOR
ANY WATER HEATING SYSTEM OR COMPONENT WITHIN THAT SYSTEM.
3. Ensure there is sufficient clean liquid in the reservoir to cover the inlet pipe
and then close the pressure relief valve.
4. Pump the handle until the pressure gauge indicates the desired pressure
has been reached. If the required pressure is exceeded, reduce it by
twisting the release valve as required. Allow the unit to stabilise for 15-30
seconds.
Parts & Service: 020 8988 7400 / E-mail: [email protected] or [email protected]
5
