Alemite 8301 서비스 지침 매뉴얼 - 페이지 7
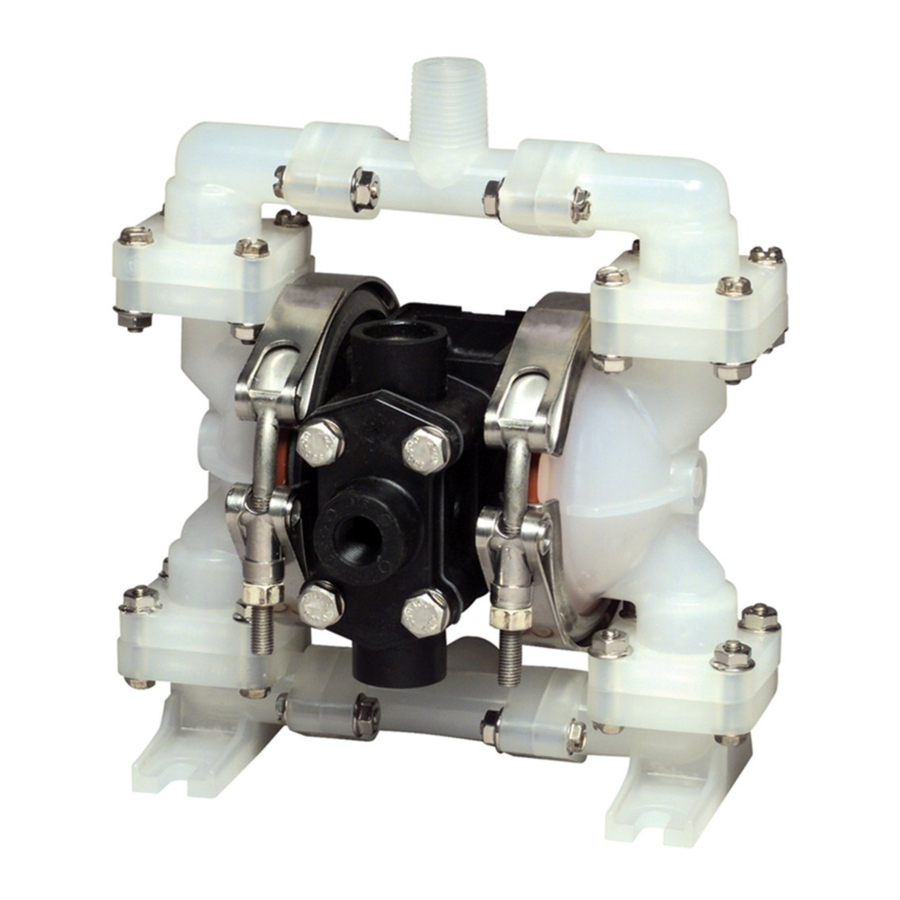
{카테고리_이름} Alemite 8301에 대한 서비스 지침 매뉴얼을 온라인으로 검색하거나 PDF를 다운로드하세요. Alemite 8301 11 페이지. Air-operated double diaphragm pump
Alemite 8301에 대해서도 마찬가지입니다: 서비스 및 운영 매뉴얼 (10 페이지)
NOTE: The two end castings each have an arrow on
them. Make sure that the arrow points toward the fluid
outlet. The arrows will point up when the pump is
completely reassembled and sitting on its two bases.
21. Reattach the six flatwashers, the six lockwashers
and the six nuts on the six tie rods. Tighten each tie
rod by holding the nut at one end of the tie rod and
turning the other one.
22. Tighten the nuts on the six tie rods alternately in
a criss-cross pattern so that the pump goes together
properly. Do not overtighten.
NOTE: When the tie rods are tight, there will still be
small gaps between the body assembly and the two
end castings.
23. Reinstall the inlet and outlet check valves and
manifolds as described in the reassembly procedure
in the Inlet and Outlet Check Valves Sections.
AIR-VALVE:
(Figure 6)
NOTE: To ease in reassembly, lay the body of the pump
on its side so that the air-valve plug is facing up.
CAUTION: The ball valve must be removed if the
pump is placed in this manner.
NOTE: Two special tools are furnished with the
pump. They are used when removing the air valve.
These are the air-valve plug tool for removal of the
air valve plug and the air-valve sleeve extraction tool
for the removal of the air-valve sleeve.
Disassembly:
1. Remove the air-valve plug (37) from the body of
the pump.
NOTE: Use the air-valve plug tool to ease the
removal of this plug.
2. Remove "O" ring (34) from this plug.
3. Remove the push rod (36) from the air-valve plug.
4. Remove "O" ring (35) from the push rod.
5. Pull out the spool assembly, consisting of the
spool (32) with the five seal rings (43), one air-valve
cushion (29) and the detent assembly (33). Remove
the five seal rings from the spool.
6. Remove the sleeve (31) with the six "O" rings (44)
by using the air-valve sleeve extraction tool.
page revised 6-03
7. Remove the six "O" rings from the sleeve.
8. Remove the second air-valve cushion (29).
9. Clean and inspect all parts. If any kits are used,
use all parts that are supplied in the kit. Replace any
other parts that are worn.
Reassembly:
1. Place the first air-valve cushion (29) into the air cavity
with the flat side down. Make sure that it is not cocked.
2. Place the six "O" rings (44) on the sleeve (31).
3. Insert the air-valve sleeve wih the six "O" rings
into the air cavity.
NOTE: To ease the process, apply a little general-
purpose grease to the "O" rings on the sleeve.
4. Place the five seal rings (43) on the spool (32).
5. Place the second air-valve cushion (29) and the
detent assembly (33) on the end rod of the spool (32)
and screw nut on the end rod.
6. Insert this assembled unit into the air cavity.
7. Place "O" ring (35)on to the push rod.
8. Insert the push rod (36) with "O" rings (35) into the
air-valve plug (37).
9. Place "O ring (34) on the plug.
10. Replace the air-valve plug (37) into the air cavity.
Tighten with the air-valve plug tool.
Feet
200
100PSI
3CFM
6CFM
80PSI
150
60PSI
100
40PSI
50
20PSI
0
0
2.5
5
7.5
NOTE: Curves based on fresh water at 70°F and one-
foot flooded suction.
Figure 5: Performance Curves for Diaphragm Pump
SER 8301
9CFM
10
12.5
15
17.5
Gallon / Min.
page 7