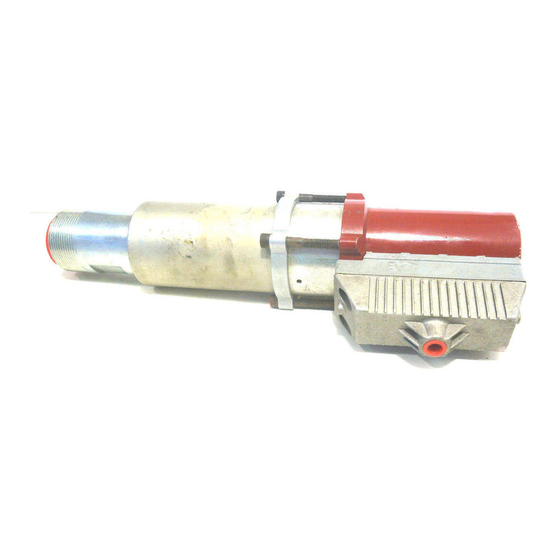
Alemite 9616-A 서비스 매뉴얼 - 페이지 5
{카테고리_이름} Alemite 9616-A에 대한 서비스 매뉴얼을 온라인으로 검색하거나 PDF를 다운로드하세요. Alemite 9616-A 10 페이지. Low-pressure transfer pump

Low-Pressure Transfer Pump
Overhaul
NOTE : Refer to Figure 2 for component
identification on all overhaul procedures.
Prior to performing any maintenance procedure, the
following safety precautions must be observed. Personal
injury may occur.
WARNING
Do not use halogenated hydrocarbon sol-
vents such as methylene chloride or 1,1,1 trichlo-
roethane in this pump. An explosion can result
within an enclosed device capable of containing
pressure when aluminum and/or zinc-plated parts
in the pump come in contact with halogenated
hydrocarbon solvents.
Release all pressure within the system prior to
performing any overhaul procedure.
• Disconnect the air supply line from the pump
motor.
• Into an appropriate container, operate the
control valve to discharge remaining pressure
within the system.
Never point a control valve at any portion of your
body or another person. Accidental discharge of
pressure and/or material can result in injury.
Read each step of the instructions carefully. Make
sure a proper understanding is achieved before
proceeding.
Disassembly
Separate Air Motor from Pump Tube
1. Clamp the pump assembly in a soft-jaw vise.
2. Remove Capscrews ( 28 ) that secure Ring ( 27 ),
Cylinder (26), and Air Motor Assembly (4) to Outlet
Body ( 11 ).
• Remove the Ring from the Cylinder.
3. With a side-to-side motion, pull the Air Motor
Assembly from the Outlet Body.
• Lubricate upper O-Ring ( 10 ) with oil to ease
separation.
NOTE : The following three (3) steps are
performed only as required.
4. Remove Coupler ( 1 ) from Adapter ( 2 ).
Alemite Corporation
1-800-548-1191-http://[email protected]
5. Unscrew the Adapter from Shut-Off Valve ( 3 ).
6. Unscrew the Shut-Off Valve from the Air Motor
Assembly.
Pump Tube Assembly
7. With a side-to-side motion, pull the Cylinder assembly
from the Outlet Body.
• Lubricate lower O-Ring ( 10 ) with oil to ease
separation.
8. Unscrew Bushing ( 12 ) from the Outlet Body as
required.
9. Remove O-Rings ( 10 ) from the Outlet Body.
10. Remove O-Ring ( 7 ) from Air Piston ( 6 ).
11. Unscrew Valve Body ( 34 ) from Stop ( 23 ).
• Use a 2-inch socket to secure the Stop.
12. Remove O-Ring ( 33 ) from the Valve Body.
13. Remove O-Ring (25) from the Stop.
14. Remove Pin (24) from the Stop as required.
15. Remove Ball (29), Seat (31), and Spring Discs (32)
from the Valve Body.
16. Remove O-Ring (30) from the Seat.
17. Remove upper Nut (5) that secures Air Piston (6) to
Rod (18).
• Remove the Air Piston from the Rod.
NOTE: Place an appropriate size punch or
other suitable tool into the hole of the Rod.
See Figure 2.
18. Remove O-Ring (8) and Washer (9) from the Upper
Rod.
19. Remove the Rod (with attached components) from the
Outlet Body.
20. Remove lower Nut (5) that secures Fluid Piston (20) to
the Rod.
NOTE: Place an appropriate size punch or
other suitable tool into the hole of the Rod.
21. Remove Plate (22), Gasket (21), and the Fluid Piston
from the Rod.
22. Remove Retaining Ring (19) from the Rod as needed.
23. Remove Retaining Ring (17), Washer (16), Seal (15),
Lantern Ring (14), and Seal (13) from the Outlet Body.
5
SER 9616-A
Revision (10-98)
