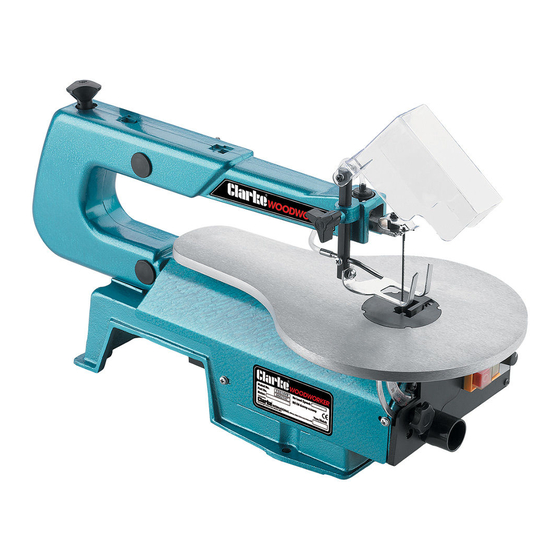
Clarke CSS16V 운영 및 유지 관리 지침 - 페이지 8
{카테고리_이름} Clarke CSS16V에 대한 운영 및 유지 관리 지침을 온라인으로 검색하거나 PDF를 다운로드하세요. Clarke CSS16V 15 페이지. 400mm (16") variable speed scroll saw

INSTALLATION
Plan your installation. Ensure adequate space is available, with good lighting and
ventilation, and an adequate electrical supply is close at hand.
1. MOUNTING THE SAW
Your Scroll Saw is provided with 4 mounting holes, and it is strongly recommended that for
safety and stability, you mount the machine either directly to a solid workbench, or to a
solid sheet pf ply, the best dimensions being - 24" x 14" x ½". The Ply base must then be
clamped to a workbench before use.
Ensure you use flat washers between the bolt head and the mounting hole, and do not
over tighten the bolts.
2.BLADE HOLDER ALIGNMENT
It is important that the blade holders are checked for alignment before use. Misaligned
holders will cause the blade to wander, and reduce the blades' life expectancy.
To check the alignment,
2.1 Loosen the tension on the blade by turning the
blade tension knob, two full turns anticlockwise.
2.2 Prise out the table insert, by pushing it from
beneath the table with your fingers.
2.3 Apply a slight downward pressure on the upper
arm whilst holding the blade firmly, allowing the
pins at the top of the blade to be disengaged
from the recesses in the upper blade holder -
see fig 3. It is now a simple matter to disengage
the blade pins from the lower blade holder and
lift the blade out through the access hole in the
table.
2.4 Remove the side cover, by unscrewing the two
retaining screws, (one of which is within the tool
holder), to give access to the lower holder.
2.5 Slacken off the single hex. socket head screws securing the upper and lower
blade holders, (arrowed in fig 3), so that the holders move freely, using the hex
socket wrench supplied.
2.6 Turn the blade holders, so that they are completely in line with each other and with
the table axis. Carefully tighten each holder in turn, taking great care not to alter
their positions as you do so.
On completion, replace the side cover, table insert and blade by reversing the
procedure above.
NOTE: If the blade tends to wander during use, re-check this adjustment as it may take
one or two attempts to get it right. Also see page 11 - Straight Line Cutting, for other
causes of blade wander.
(All parts referred to are shown in Fig. 1)
8
Fig. 3
