Clarus Technologies WCS-25 운영자 매뉴얼 - 페이지 9
{카테고리_이름} Clarus Technologies WCS-25에 대한 운영자 매뉴얼을 온라인으로 검색하거나 PDF를 다운로드하세요. Clarus Technologies WCS-25 16 페이지. Cleaning stations
Clarus Technologies WCS-25에 대해서도 마찬가지입니다: 운영자 매뉴얼 (14 페이지)

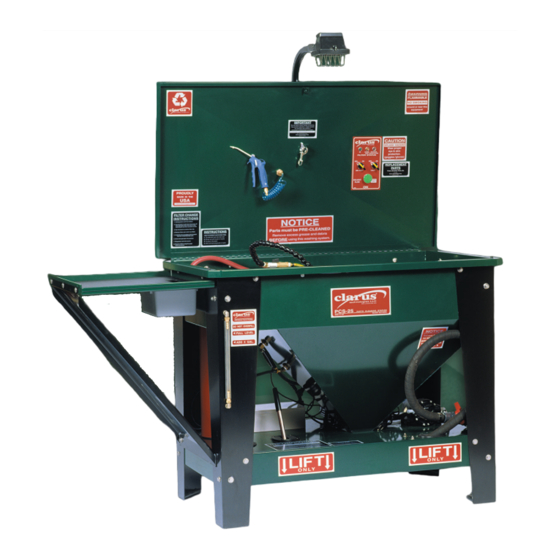
3. Take the three (3) bolt sets and install the black bracket to the open side of the
pre-clean shelf
4. Attach the bottom of the bracket to the main body of the unit.
5. Insert grey plastic bin into brackets underneath shelf.
6. Lay black plastic insert/shelf liner onto pre-clean shelf (prevents scratches)
Congratulations – your unit is ready!
VI.
PARTS DESCRIPTION & OPERATION
A.
Solvent Flow Switch
To start the solvent flow from the brush and wand nozzle, simply turn the
1.
switch to "ON". To stop the flow of the solvent, turn the switch to "OFF".
(NOTE: Models built prior to June 2012 were equipped with a 4-minute timer
and a green push button. The green push button turns the system on for a 4-minute cycle.
When the cycle is over the system will shut off automatically. If continued operation is
needed, simply depress the green "ON" button again.
B.
Light Switch
(Standard on PCS/WCS; Optional on RPW/RWC models). The light switch on the
control panel operates the overhead 150-watt halogen light.
automatically switch off, so the operator must manually turn the light off.
C.
Cleaning Brush
This ergonomically designed Parts Cleaning brush self cleans during use.
D.
Optional Add-on Features
The Cleaner can be customized with additional features to make your shop's parts and/or
weapons cleaning even more efficient. The following describes the operation of these
options; however, not all units are equipped with the same option packages.
Air Tool with Air Pump
If the optional Air Tool with Air Pump was purchased for your Cleaner, you will have an
air nozzle/handle hanging on the inside of the Cleaner lid. The air flow is controlled by
the Solvent Flow switch.
To activate the air tool, first turn the Solvent Flow Switch to "ON", starting the
compressor. Next, take hold of the Air Tool, point it down and away from your body
and depress the trigger on the handle to release the pressurized air.
Regulated Shop Air Operated Air Tool
If the optional regulated "Shop Air" model was purchased, hook up the Shop Air Hose
to the air regulator located on the backside of the lower shelf. Manually adjust the
amount of air needed by pulling up the knob on the regulator and turning it to the
The light does not
9
