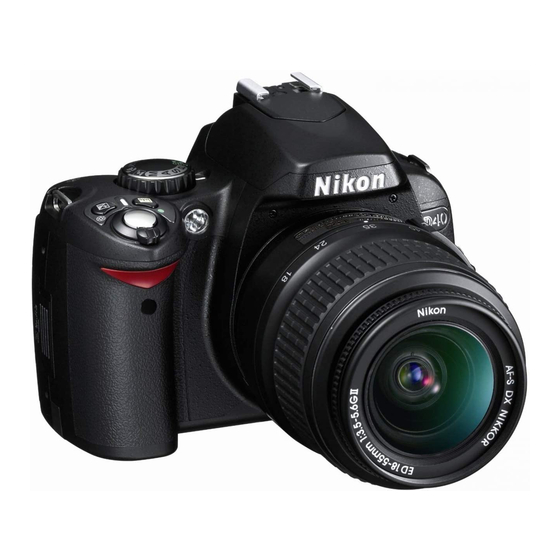
Nikon D40X 매뉴얼 - 페이지 10
{카테고리_이름} Nikon D40X에 대한 매뉴얼을 온라인으로 검색하거나 PDF를 다운로드하세요. Nikon D40X 26 페이지. Digital slr camera
Nikon D40X에 대해서도 마찬가지입니다: 사양 (4 페이지), 브로셔 (7 페이지), 브로셔 및 사양 (18 페이지), 브로셔 (8 페이지)

24
Part I
Using the Nikon D40/D40x
Aperture lock. If you want to use
the D40/D40x's automatic expo-
sure system with a D-series lens,
you must set the aperture ring to
the smallest f-stop (in this case
f/32), and lock it in that position
by using the aperture lock switch.
You need to unlock the aperture
only if you want to use the lens
with an older camera that can't set
the f-stop electronically, or you are
using the lens with an accessory,
like an extension ring, that doesn't
allow coupling with the autoexpo-
sure system.
Most automatic extension rings
Note
retain full automatic exposure
and focus capabilities, except
when the effective maximum
aperture of the lens is smaller
than
f/5.6.
needs at least that much light to
operate.
On Top
The top panel of the D40/D40x has a clus-
ter of controls. They include
Mode dial. You turn this knurled
wheel to change among the
DVP/Scene modes and Auto, Auto
(Flash Off), Program, Shutter
Priority, Aperture Priority, and
Manual modes.
Focal plane indicator. A few very
specialized types of close-up pho-
tography require knowing precisely
the plane of the camera's sensor,
and the indicator, which may be
hard to see, shows that plane (but
not the actual location of the sen-
sor itself).
The
D40/D40x
Accessory shoe. You can attach
an external electronic flash — also
known as a Speedlight, such as the
Nikon SB-400, SB-600, or SB-800—
to this slide-in accessory shoe (nor-
mally covered with a piece of
protective plastic), which includes
multiple electrical contacts that
enable two-way communication
between your D40/D40x and a
dedicated Speedlight (designed to
work directly with compatible cam-
eras). The communication can
include exposure, distance, zoom
setting, and color temperature
information. You can attach other
accessories as well, including radio
control devices, levels, and add-on
viewfinders (useful when shooting
blind because an infrared filter on
your lens is blocking visible light).
Shooting Information/Reset (#1) .
Press this button, marked with an
Info indicator, to show the current
shooting information status on the
LCD. Hold down this button and
the Settings/Zoom In button on
the back of the camera (which has
a matching green dot) to activate a
reset of the camera's settings to
factory default values.
Exposure Compensation/
Aperture. Hold down this button
while in Program, Shutter Priority,
or Aperture Priority exposure
modes and spin the command dial
to add or subtract exposure from
the basic setting that the auto
exposure system calculates.
Holding down this button in
Manual mode changes the aper-
ture. Hold down the Flash multi-
button at the same time to change
flash exposure compensation. Hold
