Nikon D200 운영 매뉴얼 - 페이지 18

{카테고리_이름} Nikon D200에 대한 운영 매뉴얼을 온라인으로 검색하거나 PDF를 다운로드하세요. Nikon D200 23 페이지. Exploring
Nikon D200에 대해서도 마찬가지입니다: 브로셔 및 사양 (13 페이지), 브로셔 (7 페이지), 설정 매뉴얼 (2 페이지), 브로셔 및 사양 (18 페이지), 브로셔 (14 페이지), 사양 (2 페이지), 기능 및 비교 차트 (1 페이지), 사용자 설명서 (19 페이지), 사양 (2 페이지), 빠른 시작 매뉴얼 (2 페이지), 매뉴얼 (25 페이지), 빠른 시작 매뉴얼 (9 페이지)
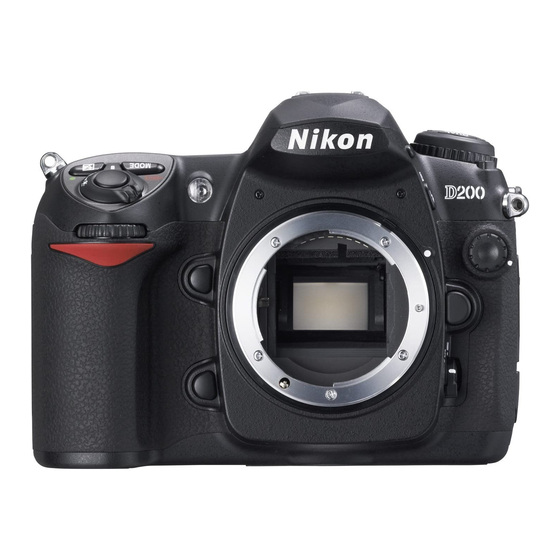
Nikon D200 운영 매뉴얼
18
3.0 Flying the Mission
3.1 Pre Engine Start
Take the entire D200 kit with you to the aircraft. Get out the camera, the GPS and
required cables. Put the rest of the kit in the baggage compartment and secure it. You
may need contents of the kit if you have to land somewhere different than mission
base!
Take a picture of the tail number of the aircraft.
Brief the pilot and observer on missions details; altitude, ground speed, target location(s)
and type. Agree on how you and/or the co-pilot will direct the aircraft once in the target
area.
Ask for an "in case of emergency" briefing in the event the pilot has not already done so.
If the flight is to be over water, ensure the briefing includes ditching instructions and that
you, the pilot and the co-pilot are wearing approved life vests.
Connect the Garmin etrex GPS to the camera using the two GPS cables. One cable
connects to the GPS and one to the camera and the two cables connect together.
Be very careful here as cables are easily damaged!
Turn on the Garmin GPS.
Place the GPS below the rear window so that it has a good view of satellites
There is a hanging strap on the GPS that can be clipped onto a fitting just below the
window in the baggage compartment. Verify GPS is tracking. Leave GPS turned on for
the entire duration of the flight.
Note: the aircraft needs to be outside of a metal hanger in order for the GPS receiver to
function correctly.
Remove the lens cap. Store it somewhere where it will not blow around the cockpit.