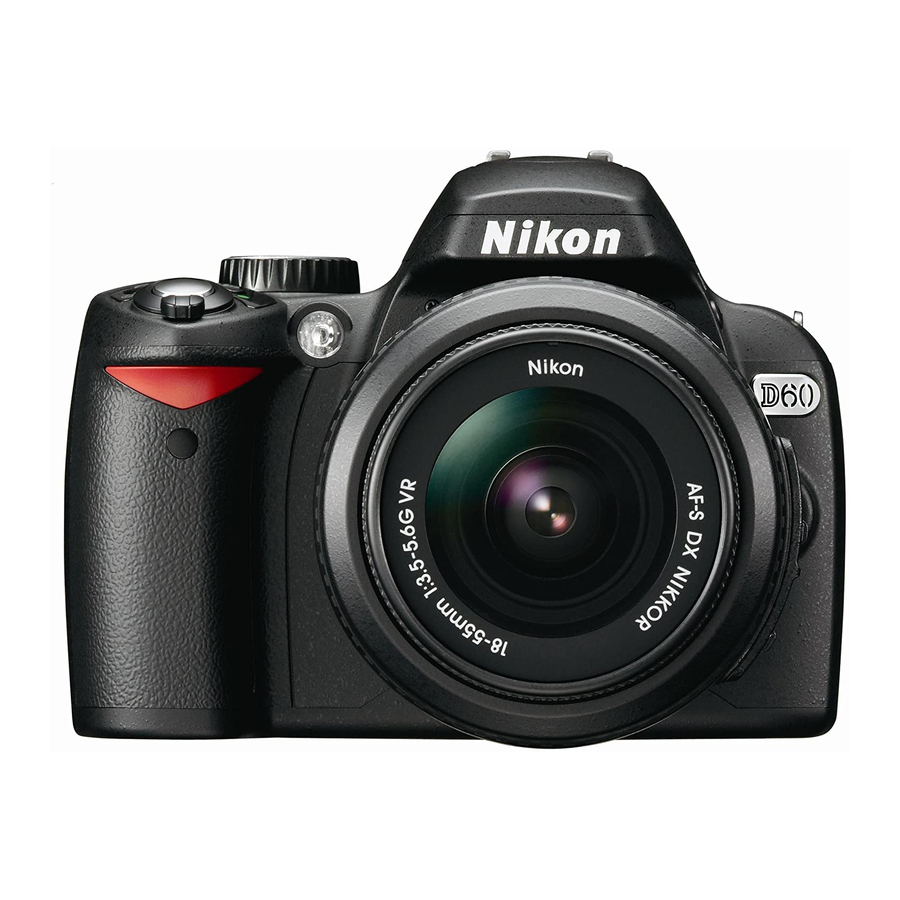
Nikon D90 - Digital Camera SLR 운영 매뉴얼 - 페이지 20
{카테고리_이름} Nikon D90 - Digital Camera SLR에 대한 운영 매뉴얼을 온라인으로 검색하거나 PDF를 다운로드하세요. Nikon D90 - Digital Camera SLR 20 페이지. Focal digital camera
Nikon D90 - Digital Camera SLR에 대해서도 마찬가지입니다: 브로셔 및 사양 (9 페이지), 사양 (2 페이지), 사용자 설명서 (26 페이지), 체크리스트 및 운영 매뉴얼 (25 페이지), 매뉴얼 (28 페이지), 방법 (6 페이지), 매뉴얼 (30 페이지)

Use the previously determined lens focal length setting or, for spot photography,
zoom as appropriate (make sure aircraft parts will not be in the picture).
It is ok to put the camera lens outside the photo window but make sure the focal
length setting does not change.
Provide instructions to the pilot on flight path.
Direct the aircraft so that the center of the camera view finder is on the target.
Push shutter button down half way and hold for a second before taking the photo
to allow for auto focus to lock-on.
Take multiple photos.
Note: if the Timer Remote Control is used, the camera will automatically pre-focus
before closing the shutter. The only thing the photographer needs to do is to start the
sequence and then hold the camera steady during the leg.
Use of a laptop while airborne
If the mission requires the use of a laptop for photo download during the flight segment
of the mission, use the camera to USB cable to make the connection.
4.3 After the Flight
Turn off camera, the Garmin eTrex GPS and the Remote Timer
Disconnect cables as required
Replace the camera lens cap
Take the camera and the eTrex GPS to mission base for photo processing
4.4 After Photo Processing
Verify camera and Garmin eTrex are turned off
Charge both camera batteries
Remove the batteries from the Remote Timer
Account for all components and place them back into the ruggedized storage and
carrying case
EHS
10/22/2010
20
Cable connection at camera end
USB to
Computer
Connection
