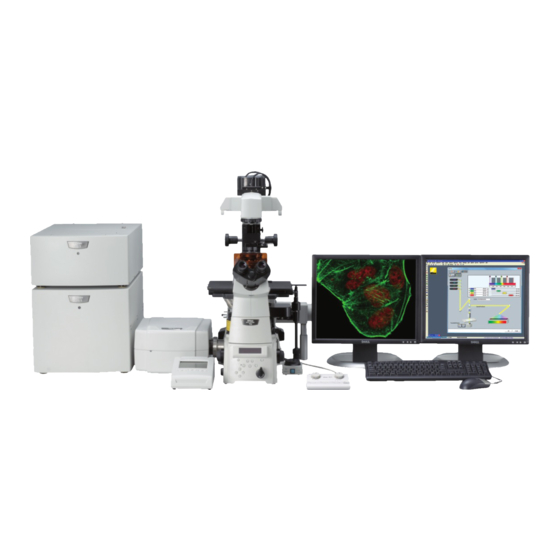
Nikon A1+ 사용자 설명서 - 페이지 22
{카테고리_이름} Nikon A1+에 대한 사용자 설명서을 온라인으로 검색하거나 PDF를 다운로드하세요. Nikon A1+ 28 페이지. Lbic nikon confocal
Nikon A1+에 대해서도 마찬가지입니다: 표준 운영 절차 (15 페이지)

can occur if too much light hits the detector.
12. To select a laser line for bleaching press the wavelength button i.e. 405 then set %
power you would like to bleach with. Multiple lasers can be used for bleaching
simultaneously if required.
13. The Scan Speed drop down box refers to the scan speed (frames per second) used
when bleaching the ROI. A slower scan speed will increase the bleaching rate but
may be less suitable if the recovery of the protein of interest is dynamic.
14. Manual Shift Alignment can be configured by facility staff if you find that the bleach
ROI you place on the image doesn't perfectly align with the area actually bleached.
15. Find an area on the sample that you'd like to bleach then select the down
arrow next to the ROI button found in the right margin of the live window.
Select the Simple ROI Editor menu option.
16. Select either the Rectangle or Ellipse ROI tool and draw the ROI onto the image.
The ROI can be resized by moving to the edge of the ROI when the cursor changes
to a double headed arrow. The ROI can be moved around the image when the
cursor changes to a four headed arrow.
17. To Delete a single ROI click on it then press the Delete key on the keyboard
press the Clear button in the Simple ROI Editor tool panel
19. Press Finish when you have finished editing the ROIs
20. Ideally you should have a minimum of 3 ROIs. One assigned as the bleach region
and two others, the first being a Background ROI and the second being a
Reference ROI.
21. Right click on the Bleach ROI and select "Use as stimulation ROI"
22. Ensure that the Background ROI is placed on a black area of the image where there
are no cells. Then right click this ROI and select "Use as background ROI"
23. Place the third ROI on another cell which won't be bleached, then right click on it
and select "use as Reference ROI"
22
18. To delete all ROIs
