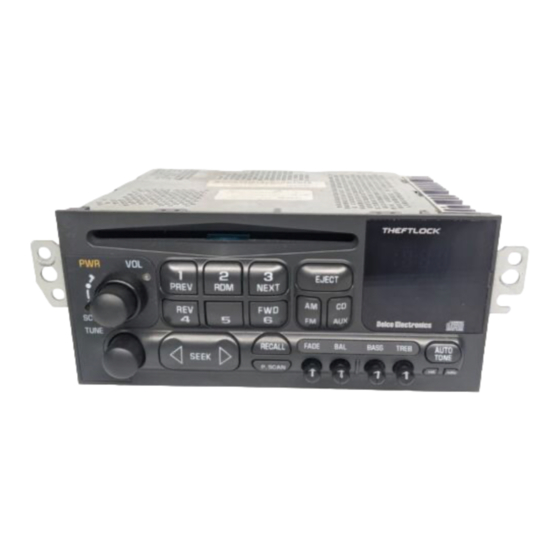
Discount Car Stereo C5-HF 빠른 시작 블루투스 설치 매뉴얼 - 페이지 2
{카테고리_이름} Discount Car Stereo C5-HF에 대한 빠른 시작 블루투스 설치 매뉴얼을 온라인으로 검색하거나 PDF를 다운로드하세요. Discount Car Stereo C5-HF 8 페이지. Bluetooth hands-free, music streaming + aux input kit for 1997-04 c5 corvette
Discount Car Stereo C5-HF에 대해서도 마찬가지입니다: 설치 매뉴얼 (10 페이지), 설치 매뉴얼 (8 페이지)

Introduction:
Safety comes first when you're on the road, so having an intuitive and easy to
use Bluetooth kit is essential to reducing driver distraction. The C5-HF kit is
compatible with virtually all Bluetooth phones, and sounds great for mobile
conversations, streaming music or listening to AUX device. In addition, a USB
charging port is included to charge your device. One button with built-in
microphone conveniently installed on the dash is used to launch Voice
Recognition application (Siri, Google Now, Assistant etc.), initiate phone calls,
launch applications and more. Thanks to the C5-HF Kit you keep factory radio,
CD changer while enjoying Bluetooth features only available on newer cars.
Note: This kit is optimized for C5 without optional 12-disc changer. If
vehicle has a working 12-Disc changer, purchase our
See Frequently Asked question at the end of this guide for more details.
Installation
: (To radio)
Remove radio from dashboard to gain access to connector. (
section and the end of this guide for details) or click the following link:
https://www.youtube.com/watch?v=WTbWYNJTSDs
1.
Disconnect factory 20-pin plug from radio (See Fig. 1)
Radio connector
2. Connect factory 20-pin plug from step 1 to installation harness 20-pin
connector (white) (See Fig. 2).
C5CD-HF
instead.
See FAQ
Fig. 1
Fig. 2
installation harness
3. Connect installation harness 20-pin plug (black/gray) (See Fig. 2) to
radio 20-pin connector vacated in step 1
4. Connect audio cable 3.5mm plug (See Fig. 3) to module short pigtail
3.5mm jack (See Fig. 5)
5. Connect audio cable 8-pin plug (See Fig. 3) to AUX-BOX 8-pin
connector (see Fig. 3a)
Fig.3
Audio cable
2. Connect included 3.5mm male-male cable (See Fig. 6) to "AUX" input
jack on module (See Fig. 4), and the other end aux device location
(within 3 ft.)
3. Verity dip-switches 3 and 8 on AUX-BOX are "ON" or down. (See Fig.
3c) All others must remain "OFF" or UP.
