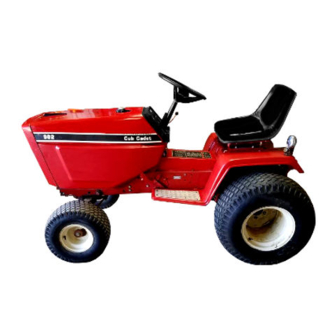
Cub Cadet 190-401-100 소유자 매뉴얼 - 페이지 6
{카테고리_이름} Cub Cadet 190-401-100에 대한 소유자 매뉴얼을 온라인으로 검색하거나 PDF를 다운로드하세요. Cub Cadet 190-401-100 18 페이지. 54" snow dozer blade
Cub Cadet 190-401-100에 대해서도 마찬가지입니다: 설정 및 부품 매뉴얼 (20 페이지)

SET UP
INSTALLATION OF PIVOT
COI{TRCL
ARI4
TC
REAR
MOUNT
I?{O FRAHE
ASSEMBLY
Asieriible
pivot control
affr
to
rear
mounting
assernbly
vrith
two
cotte!'
Pins found
in
bag
t.
Assemble
pivot controt
arm
(E)
to
rear
rountinq irame
(B).
(see
Fi9
6)
2.
Secure
with
two
cotter
Pins
(N).
INSTALLATION OF
TILT
SPRINCS TO
OOZER
BLADE
Assenble
springs
to doler
blade
using
specidl
hook
furnished
\dith unit.
L
Place dozer
blade (H)
uP
right
on
ground.
(See
F
ig.
5)
2.
Assemble
four
sprinqs (R)
to
spring
anchor (S).
3,
Uslng
special
hook
(T)
Place
foot
on
-
dozei
btrde (Ai strerch
sPring (R)
and
hook
it
into
hole
on toP
of
doler
biade
(A)
'
INSTALLATION OF
FRONT
MOUNTING
FMME'
REAR
MOUNTING
FRAIE AND
DOZER
BLADE
Assemble
tront
nounting
freme and rear
r,lount
ina
frame
to
dozer blade using
two
washers and
one
cotter
Pin found
in
bag
of
parts,
NoTE:
set
unit
o.' 2 x
!
bo3rd apProximately
12" long
for
this
oPeration
in
setup.
(tee
rrq.
/,
l.
Piacc
iront
mounting frame
(C),
rear
mounting
frame (B)
and dozer
blede
(M)
together as
s
hov.rn
in
Fig.
7.
Assemble
washer (P)
onto
I
ift
arm
assembly (D),
Si
ide
I
i
ft
arB assembly (D) through
on
s
ide.
Assemble bel
I
crank (q) onto
I
ift
arm
assembly (D)
with short
leg
to
inside
sl
ide
I
i
ft
arm assenrbly
(D)
through
other side
of
frernes.
Secure
v{ith
washer (P) and
cotter
pin
(R).
2.
3.
4.
