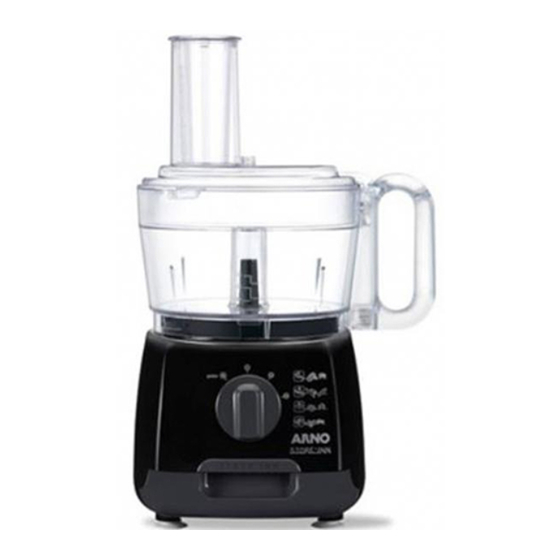
ARNO Store'Inn 사용자 설명서 - 페이지 4
{카테고리_이름} ARNO Store'Inn에 대한 사용자 설명서을 온라인으로 검색하거나 PDF를 다운로드하세요. ARNO Store'Inn 16 페이지.

• Always use your blender jug with its lid.
• Do not fill the blender jug with boiling liquid.
• Do not touch moving parts; wait until they have stopped completely before
removing the accessories.
• Do not use the accesoris as recipients (freezing – cooking – hot sterilising).
• Do not use the accessories in a microwave oven.
• Do not allow long hair, scarves, ties, etc. to dangle over the bowl and acessories
EN
when in operation.
• Do not move your appliance by lifting or pulling the drawer
Description
a
Motor unit
a1 : Motor unit slow speed
a2 : Motor unit fast speed
a3 : Speed selector: Pulse position
(intermittent operation) -0-1-2
ACCESSORIES DEPENDING ON MODEL:
d
Multi-purpose blade
e
Emulsifying disk
f
Vegetable cutter inserts
A : Fine grater
D : Fine slicer
C : Coarse grater
H : Thick slicer
g
Insert supports for vegetable cutter inserts
First use
• Before using for the first time, wash all parts of the accessories in hot soapy water (see cleaning paragraph).
Rinse and dry.
• Place the motor unit
(a)
on a flat, clean and dry surface.
• Plug in your appliance.
• Pulse (intermittent operation): turn the knob
of certain preparations.
(a3)
• Continuous operation: turn the knob
(a3)
• Stop: turn the knob
to position 0.
The paragraphs are numbered to match the numbering of the illustrations.
1 : Fitting the chopping bowl and the lid
ACCESSORIES USED:
(b)
• Bowl assembly
.
FITTING THE ACCESSORIES:
• Fit the bowl
(b3)
onto the motor unit
(a)
(b3)
• Lock the bowl
by turning it towards the right.
(b3)
• Fit the lid (b2) onto the bowl
. Lock the lid in place by pushing it towards the right of the bowl handle.
The bowl must be locked onto the motor unit (a) before locking the lid
b
Chopping bowl assembly
b1 : Food pusher with measuring guide
b2 : Funnel lid
b3 : Bowl
c
Drive pin
h
Blender jug
h1 : Measuring cap
h2 : Lid
h3 : Bowl
i
Storage drawer
j
Mini chopper
j1 : Lid
j2 : Mini chopper bowl
k
Spatula
(a3)
to the pulse position, pressing successively for better control
to position 1 or 2.
, with the bowl handle positioned slightly to the right of the knob.
(b2)
(b3)
onto the bowl
2
• Release the lid by turning it in a clockwise direction to free it from the bowl handle. You can then lift and
remove it.
• Release the bowl by turning it in a clockwise direction.
• It is only now that you can lift and remove the bowl from the motor unit.
3 : Mixing/chopping/kneading
ACCESSORIES USED:
• Bowl assembly
(c)
• Drive pin
.
• Multi-purpose blade
FITTING THE ACCESSORIES:
(b3)
• Fit the bowl
• Slide the multi-purpose blade
(a1)
.
• Place the ingredients in the bowl.
• Fit the lid (b2) and lock it onto the bowl
• To remove the bowl-lid assembly: release the lid then release the bowl.
KNEADING/MIXING:
• Turn the speed selector
You can knead up to:
- 600g of heavy pastry, such as: white bread dough, short crust pastry, etc. in 30 seconds.
- 500g of special bread dough such as: rye bread, wholemeal bread, multi-grain bread, etc. in 30 seconds.
You can mix up to:
- 600g of light mixture, such as: biscuits, sponge cake, etc. in 1 min 30 sec.
You can also mix up to 0.5 litre of pancake or waffle batter etc. in 1 min to 1 min 30.
CHOPPING:
• Turn the speed selector
You can mince up to 300 g of food such as:
. raw or cooked meat (boned, gristle removed and cut into cubes).
. raw and cooked fish (without skin or bones).
. hard foods: cheese, dried fruits, certain vegetables (carrots, celery, etc.).
. soft foods: certain vegetables (onions, spinach...).
BLENDING:
• Turn the speed selector
You can mix up to 0.5 litre of broth, soup or stewed fruit in 20 seconds.
ACCESSORIES USED:
• Bowl assembly
(c)
• Drive pin
.
• Appropriate insert
• Insert support
FITTING THE ACCESSORIES:
(b3)
• Fit the bowl
• Fit the chosen insert
(f)
, and lock the assembly, then fit it onto motor unit drive
(b2)
• Fit the lid
• To remove the bowl-lid assembly: release the lid, then release the bowl.
.
2 : Removing the chopping bowl and the lid
(b)
.
(d)
.
(a)
onto the motor unit
and lock it in place.
(d)
(c)
onto the drive pin
, and position this assembly on the motor unit drive
(b3)
.
(a3)
to position 2 to start.
(a3)
to position 2 to start, or for better chopping control, choose the pulse position.
(a3)
to position 2 to start.
(b)
.
(f)
(depending on model).
(g)
.
(a)
onto the motor unit
and lock it in place.
(f)
into the insert support
(g)
, push the drive pin
(a1)
(b3)
and lock it onto the bowl
.
3
EN
4 : Grating/slicing
(c)
as far as possible through the insert
.
