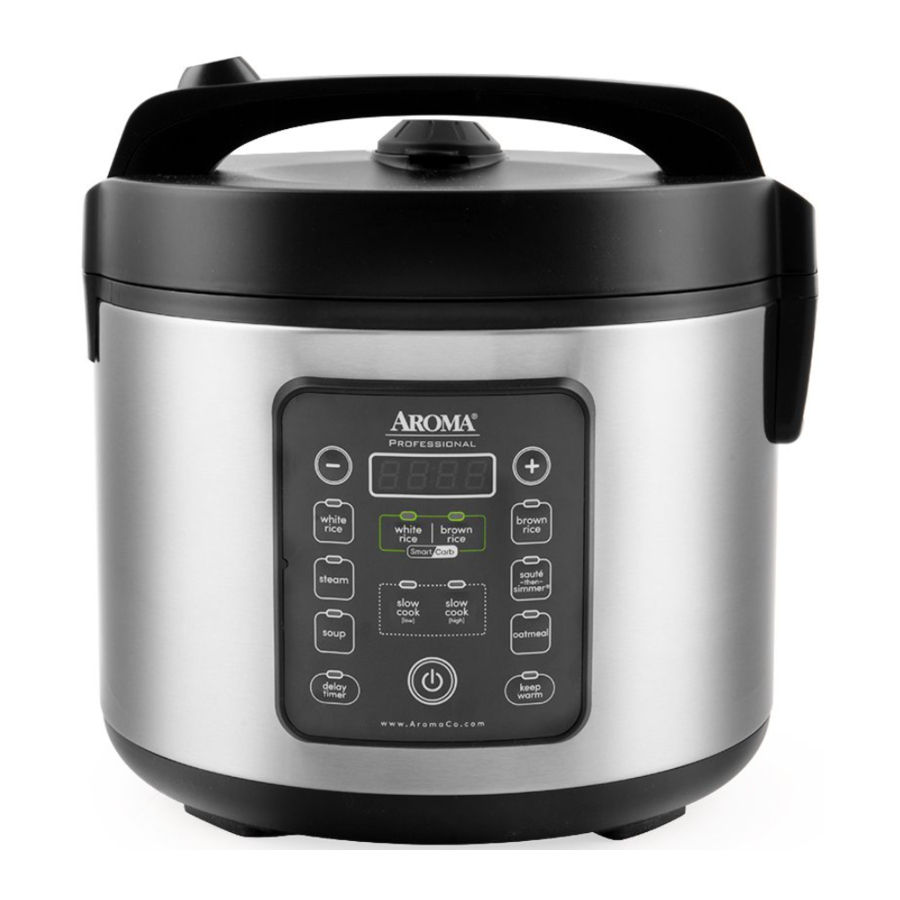
Aroma ARC-1120SBL 사용 설명서 - 페이지 5
{카테고리_이름} Aroma ARC-1120SBL에 대한 사용 설명서을 온라인으로 검색하거나 PDF를 다운로드하세요. Aroma ARC-1120SBL 12 페이지. Rice & grain multicooker
Aroma ARC-1120SBL에 대해서도 마찬가지입니다: 사용 설명서 (20 페이지)

SmartCarb
®
1. Using the provided measuring cup, add rice or
grain to the carb-reducing inner pot.
2. Rinse to remove excess starch. Drain.
3. Place the carb-reducing inner pot with rice into the
nonstick inner pot.
4. Fill the carb-reducing inner pot with water to the
line that matches the number of cups of uncooked
brown or white rice added.
5. Place both inner pots into the cooker and close the
lid securely.
6. Plug the power cord into an available 120V AC
wall outlet.
7. Press the ( ) button to turn the cooker on.
8. Press SmartCarb
(White Rice) or SmartCarb
®
(Brown Rice), depending on the type of rice being
cooked. The digital display will show a flashing
"20" for SmartCarb
(White Rice) and "40" for
®
SmartCarb
(Brown Rice) to represent the
®
default cooking time.
9. For softer or firmer rice, use (+) or (-) to increase
or decrease the cooking time in 5 minute
increments, up to 60 minutes.
10. The cooker will now begin heating and the
cooking indicator light will illuminate.
11. Once the water reaches a boil, the digital display
will count down from the input time setting.
12. Once the cycle has completed, the cooker will
beep and automatically switch to Keep Warm.
13. For best results, stir the rice with the serving
spatula to distribute any remaining moisture.
14. When finished serving, turn the cooker off by
pressing ( ) twice and unplug the power cord.
How does the SmartCarb
function work?
®
·
In the carb-reducing inner pot, rice is
submerged in water when it begins cooking.
·
During the cooking cycle, boiling water breaks
down all easily-dissolvable starch molecules.
Excess starchy water drains below through
holes in the carb-reducing inner pot while
traditional inner pots will not drain the excess.
·
Rice and grains will finish off the cooking cycle
by being steamed instead of traditionally
sitting in its excess starchy water and
reabsorbing carbohydrates.
8.
Note:
· Because rice varieties
may vary in their make-
up, results may differ.
· Food should not be left
in the cooker on Keep
Warm for more than 12
hours.
· When using the
SmartCarb
functions,
®
the flashing default
"20" or "40" minutes
represent the amount
of cooking time
remaining after the
water begins to boil,
®
not the total cook time.
For cooking times, see
the "SmartCarb
Rice
®
& Water Measurement
Table" on page 15.
Helpful
Hints:
If you misplace the rice
measuring cup, a ¾
standard U.S. cup is an
exact replacement.
To add more flavor
to rice, try substituting
water for a favorite
meat or vegetable
broth or stock. The ratio
of broth/stock to rice will
be the same as water
to rice.
For approximate
grain cooking times
and suggested grain/
water ratios, see the
"Rice/Grain & Water
Measurement Tables"
on pages 14-15.
Delay Timer
1. Using the provided measuring cup, add rice or
grain to the inner pot or to the carb-reducing
inner pot if using the SmartCarb
®
2. Rinse to remove excess starch. Drain.
3. If using the SmartCarb
functions, place the
®
carb-reducing inner pot with rice into the nonstick
inner pot.
4. For white or brown rice, fill the inner pot with
water to the line that matches the number of cups
of uncooked rice added. For other grains, see the
"Grain & Water Measurement Table" on page 15.
5. Place the inner pot(s) into the cooker and close the
lid securely.
6. Plug the power cord into an available 120V AC
wall outlet.
7. Press the ( ) button to turn the cooker on.
8. Press the White Rice, Brown Rice, SmartCarb
Oatmeal buttons, depending on the type of grain
being cooked.
9. Press Delay Timer.
10. Use (+) or (-) to increase or decrease the delay
time by one hour increments. It may be set to
have grains ready in 1 to 15 hours for White Rice,
SmartCarb
(White Rice) and (Brown Rice), or
®
Oatmeal and 2 to 15 hours for Brown Rice.
11. The digital display will count down from the input
delay time.
12. Once the delay time has elapsed, a chasing
pattern will appear in the digital display signifying
that the cooking cycle has begun.
13. The digital display will count down the final 10
minutes of cook time.
14. Once the cycle has completed, the cooker will
beep and automatically switch to Keep Warm.
15. When finished serving, turn the cooker off by
pressing ( ) twice and unplug the power cord.
Oatmeal
1. Using the provided rice measuring cup, add
oatmeal to the nonstick inner pot.
2. Fill the inner pot with water according to
packaging instructions. When an oatmeal/water
ratio is not available, use a 1:2.5 oatmeal to water
ratio.
continued on the next page >>
functions.
or
®
Note:
· The cooker will not
switch to Keep Warm
until all liquid has
evaporated.
· Food should not be left
in the cooker on Keep
Warm mode for more
than 12 hours.
Caution:
Do not attempt to
cook more than 4
cups of oatmeal in this
appliance at a time.
9.
