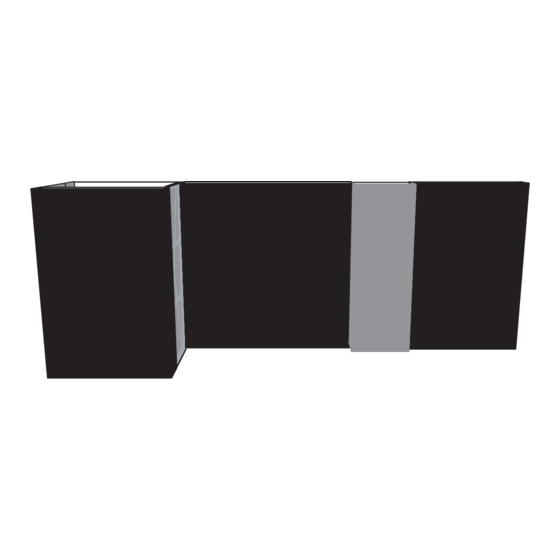
displayit Graffiti Plus 조립 지침
{카테고리_이름} displayit Graffiti Plus에 대한 조립 지침을 온라인으로 검색하거나 PDF를 다운로드하세요. displayit Graffiti Plus 4 페이지. 10x20 inline display kit a
displayit Graffiti Plus에 대해서도 마찬가지입니다: 조립 지침 매뉴얼 (13 페이지)

1. Set one frame standing on end.
Grasp two of the middle hubs (circled in
orange) and gently expand the frame.
Note the location of the adjustable feet
for future reference.
Left 10 Foot Flat Frame
4-piece channel bars (front & back)
Adjustable Feet
4-piece channel bars (front & back)
Corner Hub
4A. Slide one end of the first channel
bar onto the connection point of one
of the corner hubs. The triangular
channel bar's thinner edge goes
toward the inside of the frame.
displayit.com
Adjustable Feet
2. Snap all frame locks (marked
in red in the diagrams below) to
secure the frame.
It is recommended to assemble
the frame with it laying on its back.
2 Extra Frame Locks
Thinner Edge
4B. Snap the slots in the back of the
channel bar onto the nubs on the hubs.
800.207.0311
Graffiti:Plus 20' Backlit Display
Assembly Instructions Page
Frame Lock
Snap
4-piece channel bars (front & back)
2 Extra Frame Locks
Slot
Nub
After-Hours Emergency: Call or Text 678.723.5343
3-piece channel bar
3. Unfold and slip together each
bungeed channel bar.
Right 10 Foot Flat Frame
4-piece channel bars (front & back)
4C. Attach the other end of the
channel bar to the other corner hub.
Repeat steps 4A-4C for all channel
bars as seen in the diagrams above.
5. Repeat steps 1-4C for the second
frame.
Gra ti:Plus V.2 Updated 10/10/2019
1
Adjustable Feet
