CamCuddle Smart Life S8 사용자 설명서 - 페이지 12
{카테고리_이름} CamCuddle Smart Life S8에 대한 사용자 설명서을 온라인으로 검색하거나 PDF를 다운로드하세요. CamCuddle Smart Life S8 12 페이지.

10.3
Perform Camera Setup Reset
When the camera setup is messed up and you are not sure what to do. Please follow the steps below to reset
the camera setup.
▪ On your mobile device, open the iCookyCam app and remove the camera if one exists (P10.3.1)
▪ If your camera has Red indicator light flashing, long press the Mode button on top of the camera until the
Red indicator light turns off and the Blue indicator light turns on
▪ If your mobile device is connecting to the camera network, go to Settings, select Wi-Fi and forget the
camera network connection (P10.3.2 – P10.3.3). Your mobile device should start to connect back to your
Wi-Fi network
▪ At this point, you can start to setup the camera again by following Part 2 – Setup the Camera
P10.3.1 – Remove Camera
11. Camera Operation Notices
▪ Please strictly abide by the relevant laws and decrees of the state and do not use this product for any illegal
purposes!
▪ Please format the SD card for the first time of using and every 3 months
▪ Use qualified charger, input voltage is 5V/1A
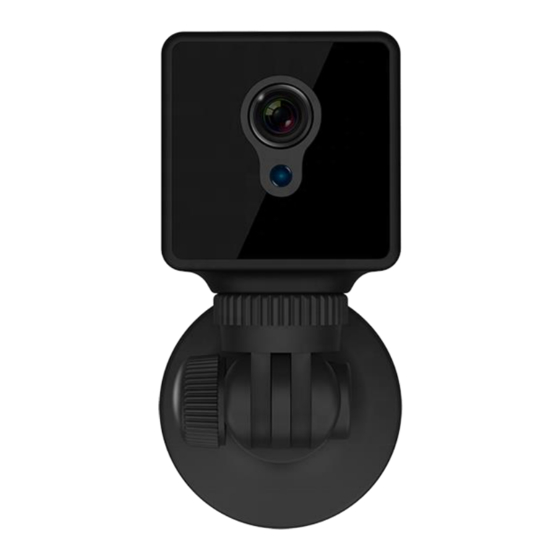
▪ Do not touch the camera lens and image sensor directly. To clean them, do that gently with a dry soft fabric
and alcohol
▪ Avoid direct light such as strong sunlight, otherwise the camera image will be very bright and the life of the
photosensitive sensor will be reduced
▪ Avoid placing this camera near a strong electromagnetic radiation
▪ Avoid placing this camera in an extreme working condition such as moisture, dust, too hot or too cold. The
operating temperate of this camera is 23
▪ Do not block the ventilation around the camera when it operates to prevent overheating
▪ The night vision is turned on automatically when the environment is dark
▪ The camera's battery is insufficient if the Yellow indicator is on when the camera is plugged in to the charger.
The camera's battery is full if the Yellow indicator is off when the camera is plugged in
▪ It takes about 4 hours to full charge the camera with the power adapter and about 8 hours with the USB
charger cable
▪ Recorded videos and photos on the camera can be transferred to computer by using the USB charger cable
12. Product Warranty & Support
Thank you for choosing our camera product. Customer satisfaction is our number one goal. We offer 12-months
warranty on this product. If you are not satisfied with your order, please contact us and we are happy to exchange
the product or refund your money.
For any questions about the product and technical support, please send email to us at [email protected].
Thank you!
P10.3.2 – Choose Camera Network P10.3.3 – Forget Camera Network
o
o
o
F – 122
F (-5
C – 50
o
C)
