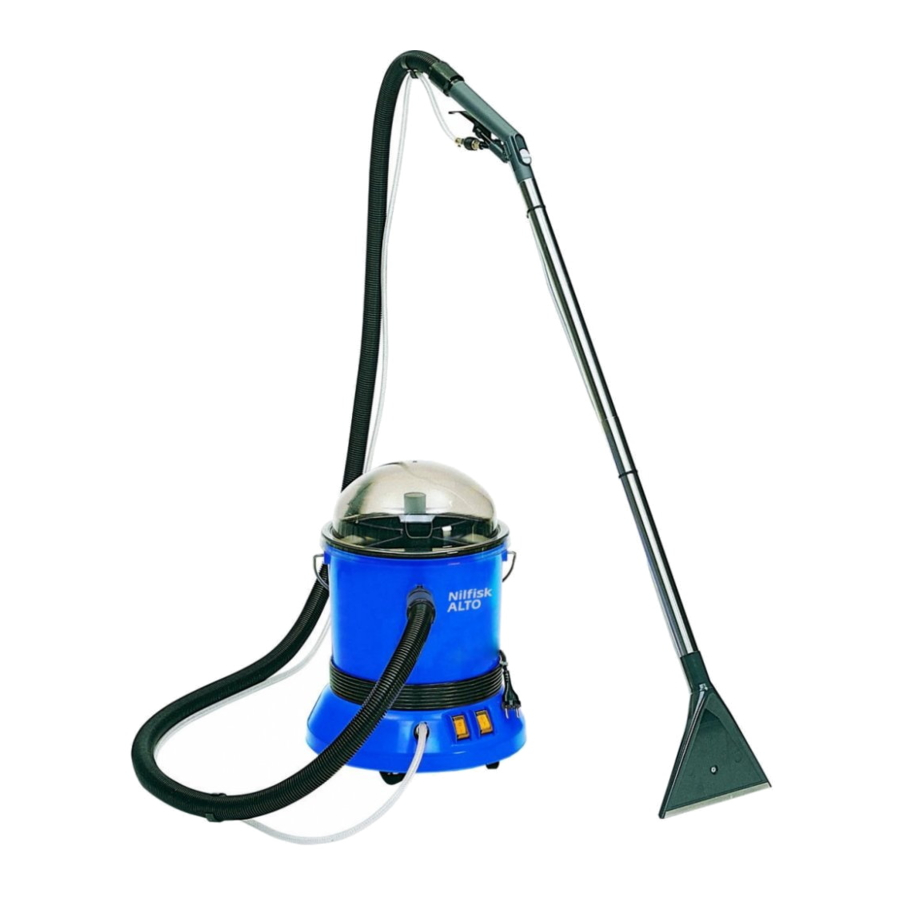
Alto TW 300 S 사용 설명서 - 페이지 7
{카테고리_이름} Alto TW 300 S에 대한 사용 설명서을 온라인으로 검색하거나 PDF를 다운로드하세요. Alto TW 300 S 12 페이지. Spray extraction cleaner
Alto TW 300 S에 대해서도 마찬가지입니다: 운영 지침 부록 (18 페이지), 사용 설명서 (12 페이지)

READ THE OPERATING
INSTRUCTIONS AND
OBSERVE THE SAFETY
NOTES!
SAFETY NOTES
Do not pull the cleaner
along with the mains
lead. Take care not to
crush the mains lead or to
drag it over sharp corners.
Inspect the mains lead at
regular intervals. If the
mains lead is damaged,
replace it immediately
with a lead of the type
specified in the technical
data.
If foam or fluid starts to
escape from the cleaner,
switch off the cleaner
immediately.
Use only cleansing agents
approved by Alto.
INTENDED USE
The cleaners described in
these operating
instructions are intended
for use to clean textile
wall and floor coverings.
The cleaners are suitable
for commercial use, for
example in hotels,
schools, hospitals,
factories, shops, offices
and rental properties.
DESCRIPTION
TW 300 S
1 Metering valve
2 Suction/spray hose
3 Lid of dirty water tank
4 Suction/spray tube
5 Suction motor/pump
switch
6 Connection for spray
hose
7 Level indicator
TW 400
1 Lid of dirty water tank
2 Handle for dirty water
tank
3 Catch for dirty water
cover
4 Suction hose
connection
5 Dirty water tank
6 Suction hose
7 Transport handle
(extendable)
8 Spray hose
9 Connection for spray
hose
10 Filling funnel with
level indicator
11 Suction motor switch
12 Mains lead
13 Handle
14 Fresh water tank
15 Pump switch
16 Take-up reel for mains
lead
TW 400 HD
1 Fresh water tank
2 Dirty water drain hose
3 Pushing handle
4 Basket
5 Take-up reel for
extension lead
6 Mains lead
7 Float
8 Lid of dirty water tank
9 Dirty water tank
10 Suction motor switch
11 Holder for adapter
12 Pressure gauge
13 Pressure regulating
valve
14 Spray hose connection
15 Transport handle -
support bar for
adapter
16 Pump switch
17 Suction hose
connection
18 Suction hose
19 Spray hose
ASSEMBLY
Before it is used for the
first time, the cleaner has
to be assembled:
•
Push the suction tube
sections together.
•
Push the suction hose
firmly into the spray
extraction cleaner and
the suction tube.
•
Allow the pressure
hose to engage in the
coupling
•
To remove the hose,
release the spring-
loaded locking ring.
7
