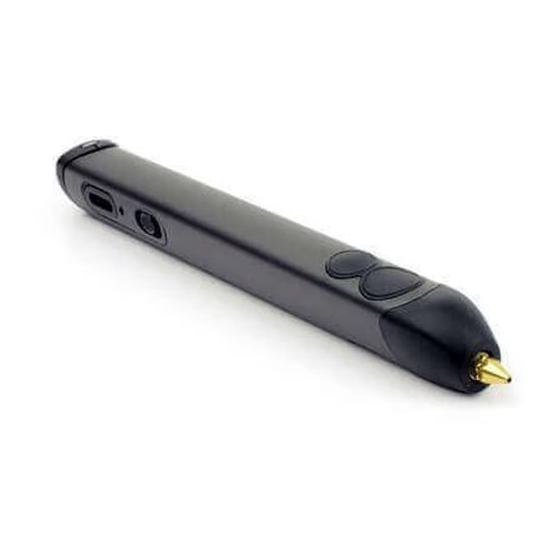
3Doodler 2.0 사용자 설명서 - 페이지 4
{카테고리_이름} 3Doodler 2.0에 대한 사용자 설명서을 온라인으로 검색하거나 PDF를 다운로드하세요. 3Doodler 2.0 10 페이지.
3Doodler 2.0에 대해서도 마찬가지입니다: 빠른 시작 매뉴얼 (2 페이지), 매뉴얼 (4 페이지)

USING YOUR 3DOODLER 2.0
Step 1: Connect your 3Doodler 2.0 to the power adapter
Connect the power adapter to the back of the 3Doodler and plug it
into a power source.
Note: If you have also purchased the 3Doodler JetPack
can also connect this to the back of the 3Doodler as a power
source.
Step 2: Turn on the pen and select
your plastic/filament
Turn the pen on by selecting the correct
heating temperature for the type of
plastic/filament you are using. Set the
slide switch to HI ("High") for high
temperature plastics/filaments like ABS or
FLEXY, or LO ("Low") for low temperature
plastics/filaments like PLA or WOOD.
Step 3: Allow your 3Doodler to heat up before loading
plastic/filament
The 3Doodler takes approximately 1.5 minutes to heat up. During
that time the LED indicator will be RED and it will not be possible to
use the pen. Once the correct melting temperature is reached and
the pen is ready, the LED indicator will change to BLUE (HI) or
GREEN (LO).
BLUE = HI ("HIGH") (heating range between 230°C and
240°C; or 446°F and 464°F)
GREEN = LO ("LOW") PLA (heating range between
190°C and 200°C; or 374°F and 392°F)
Step 4: Load the pen
Load the plastic/filament into the plastic loader
the pen, feeding it down the length of the 3Doodler until you feel it
gripped by the gears inside the pen.
NOTE: If you do not feel the plastic/filament being gripped
by the gears inside the pen, please give it a gentle
clockwise twist while pushing it down the shaft of the
3Doodler.
12
at the back of
12
Plastic/filament
you
TM
