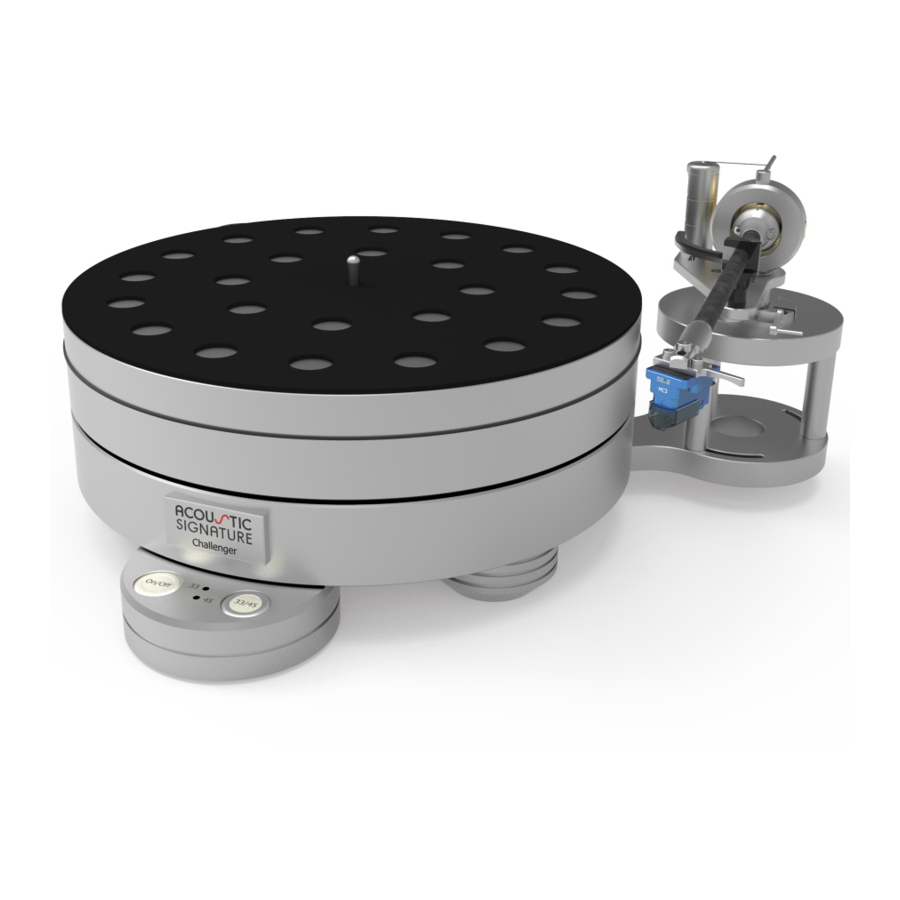
Acoustic Signature CHALLENGER 2018 사용 설명서 - 페이지 8
{카테고리_이름} Acoustic Signature CHALLENGER 2018에 대한 사용 설명서을 온라인으로 검색하거나 PDF를 다운로드하세요. Acoustic Signature CHALLENGER 2018 11 페이지.

Connecting the Challenger
Connect the Challenger in 3 steps:
- Patch cable RJ45
- Motor cable
- Power cord
See picture below for correct positions of connec-
tions.
The motor cable can be inserted in every motor
plug (Motor 1 to 3).
Note: before connecting the patch cable to the
control unit, feed the cable between left or right
front foot and backside foot.
Connect the power cable to your wall socket and
switch on the Digital Motor Control on its back-
side.
Anschlüsse am Challenger
Schliessen Sie den Challenger in 3 Schritten an:
- Patchkabel RJ45
- Motorkabel
- Netzkabel
Beachten Sie das unten stehende Bild für die La-
ge der Anschlüsse.
Das Motorkabel kann an allen 3 Motoranschlüs-
sen eingesteckt werden.
Beachte:
führen Sie das Patchkabel vor dem
Verbinden mit dem Bedienfeld zwischen dem
vorderen rechten oder linken und dem hinteren
Fuss unter dem Spieler durch.
Verbinden Sie das Netzkabel mit der Steckdose
und schalten die Motorsteuerung auf der Rücksei-
te ein.
8
