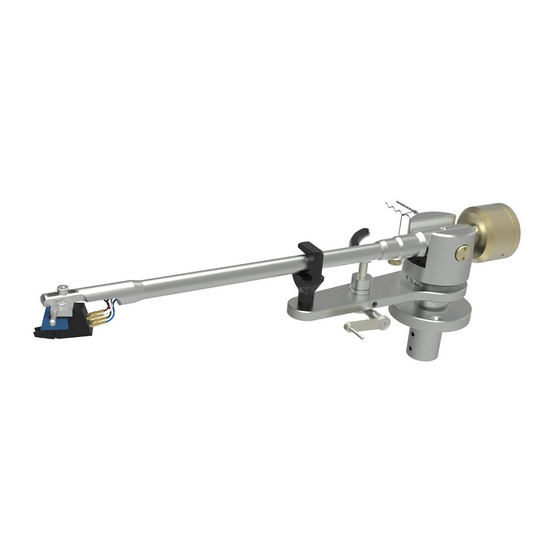
Acoustic Signature TA-700 사용 설명서 - 페이지 4
{카테고리_이름} Acoustic Signature TA-700에 대한 사용 설명서을 온라인으로 검색하거나 PDF를 다운로드하세요. Acoustic Signature TA-700 8 페이지. Pick-up arm

1. Preparing the arm mounting board
To mount the TA 700 tonearm your turntable need´s to have a
23mm thru hole combined with 3 M3 thread´s around it at the
Radius of 20.5mm (see drawing). Rega Dimension. SME versions
are also offered.
Ensure that the thread´s are positioned as showed in the drawing.
The distance of the center hole to the middle of the platter must be:
222 mm for the 9 inch version
2. Fitting the arm
Take the provided 3 screws and put them into the marked 3 holes.
Use the provided allen key to tighten the screw´s.
To get easier access to the holes it might be helpful to turn the
armtube so the holes are free, or take the arm out and assemble
the armbase first.
3. Antiskating
To adjust proper antiskating put the provided string with the atta-
ched antiskating weight over the mounting stub. Please adjust it
according to the skale you see in the left picture. We suggest to
have the antiskating value lower then the tracking force.
4. Mounting the cartridge
Please take a look at the assembly drawing to mount your car-
tridge to the tonearm. We use a cartridge mounting plate to mount
your cartridge on. Use the provided screw´s of the cartridge or the
2 pcs. M2.5 screws we supply with the tonearm. Mount your car-
tridge to the plate and then connect the audio cable pin´s to your
cartridge.Take care for the correct color. Then use the provided
M3 Screw to attach the assembly to the headshell.
........................................
