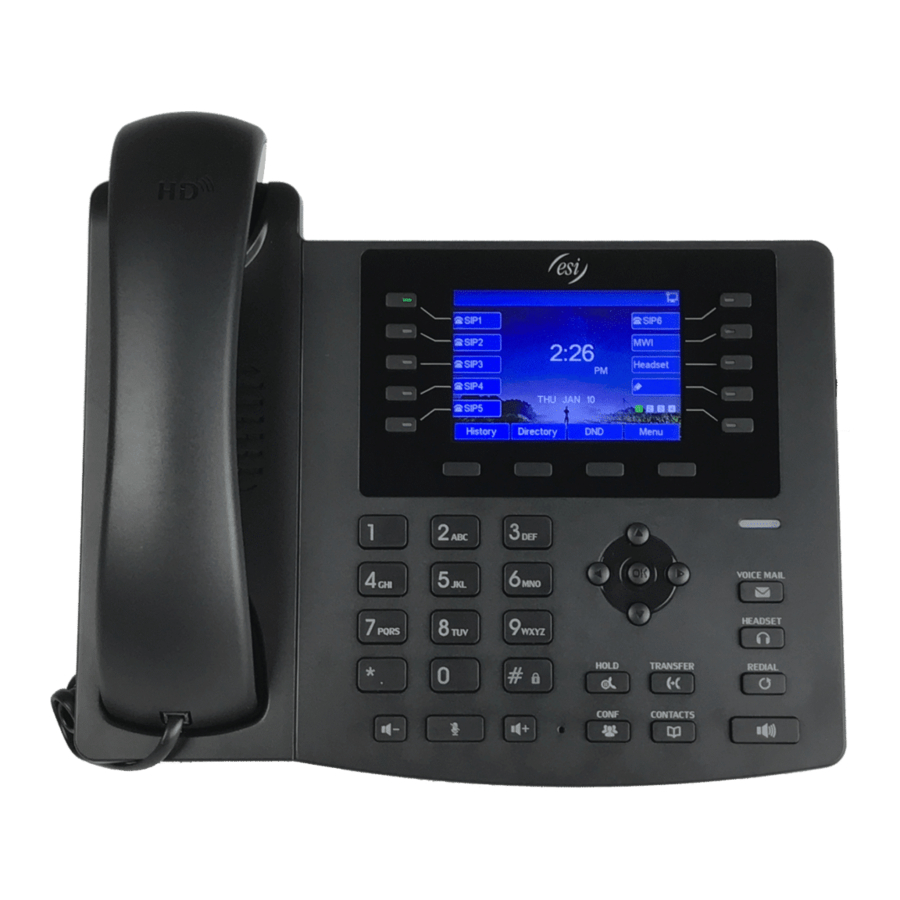
ESI ePhone8 시작하기
{카테고리_이름} ESI ePhone8에 대한 시작하기을 온라인으로 검색하거나 PDF를 다운로드하세요. ESI ePhone8 2 페이지.

Call History
The ePhone8 can store up to 1000 call records. The user can view call history by
doing the following:
1. Press the Call Log key at the bottom of the home screen.
2. View All Calls, Incoming Calls, Outgoing Calls, Missed Calls, or Forward Calls by
pressing the appropriate icon.
Note: The Missed Calls icon
will appear on the home screen and the
Call Log key will show the number of missed calls.
Recording
The ePhone8 supports call recording via local and network storage. Requires USB
drive to be installed on the back of the ePhone8 for local recording.
1. While on an active call, press the Record icon
2. To stop recording, press the Record icon again or hang up.
Redial
The last incoming call can be redialed by pressing the Redial key
key that has been programmed as a redial key.
Phonebook
The ePhone8 can store up to 2000 contact records.
Access Phonebook:
1. Press the Contacts icon at the bottom of the home screen. You can use the
search feature to narrow down the contacts.
2. Press the desired Contact and the phone will dial the contact.
Add new entry:
1. Press the Contacts icon at the bottom of the home screen.
2. Press the Add icon (plus sign).
3. Enter the contact's information.
4. Press the check mark to save the contact.
Edit entry:
1. From the contacts screen, tap the information icon
2. Tap Edit
.
3. Tap Save
Intercom
To send a quick announcement to someone without ringing their phone, press the
pre-programmed Intercom DSS key, enter the extension that you want to call and
press #. If the other user's phone is idle, it will auto-answer via the speakerphone.
Intercom applies only to internal calls made from ESI eSIP and eCloud phones.
Enabling Wi-Fi
The ePhone8 will not connect to Wi-Fi if it has internet via the Ethernet cable.
1. Swipe down from the top of the screen with your finger. A new window will be
dragged open.
3. Long press the Wi-Fi symbol
to open Wi-Fi settings.
4. In Wi-Fi Settings, tap the slider switch to enable Wi-Fi. The ePhone8 will search
for wireless networks automatically and present them in a list.
5. Select a wireless network from the list, enter password and tap CONNECT.
A Wi-Fi status indicator will appear in the top right corner of the home screen.
Personalizing your ePhone8
Programming Feature / DSS keys from the phone
1. From the home screen, press the Unfold soft key and long press an available key.
Or go to Phone Settings > Key > SoftDssKey and select a key to program.
2. Depending on the key type selected, enter one or more of the following: Value, Title,
Type, Subtype, Line, Pickup Number, Media, Codec.
3. Tap the checkmark
Programming a Speed Dial key
A speed dial key can be programmed for numbers that you dial most often.
1. From the home screen, press the Unfold soft key and long press an available key.
Or go to Phone Settings > Key > SoftDssKey and select a key to program.
2. Enter Value, which is the phone number or extension.
.
3. Enter Title. This can be a name, a number. It does not matter.
4. Enter Type as Memory Key.
5. Enter Subtype as Speed Dial.
6. Select a Line, if necessary. This is the line the system will use to dial out.
or a DSS Soft
7. Select a Media type, if necessary.
8. Tap the checkmark
Programming Feature/DSS keys from the Console
For eSIP systems, use eMobile Desktop. For eCloud systems, use eConsole.
Voice mailbox options
You can change your greetings, record your name and change the password for your
voicemail.
1. Access your voice mailbox by pressing the voicemail key, or by dialing *2# for eSIP,
or by dialing *97# for eCloud.
2. Enter your password and press #. The system will state the number of messages.
Reference the chart below for mailbox options.
to the right of the contact.
Dial 0
Dial 0, then 1
Dial 0, then 2
Dial 0, then 3
Dial 0, then 4
Dial 0, then 5
Dial
-Dial 1
Note: Check back of ePhone8 to determine if you are on eSIP or eCloud.
to save.
to save.
eSIP
eCloud
Function
-
Mailbox Options
-
Record your Unavailable Message
-
Record your Busy Message
Dial 5, then 2
Record your Name
-
Record your Temporary Greeting
Dial 5, then 1
Change your Password
*
Dial #
Return to the Main Menu
-
Dial 6
Change Greeting
Dial 1
For New Messages
-
Dial 2
For Old Messages
-
Dial 3
To Send Messages
-
Dial 4
Set Call Forwarding
-
Dial 7
Recover a deleted Message
If first five digits of serial number is 00949, system is eSIP.
If first five digits of serial number is 00952, system is eCloud.
Getting Started with the
ESI ePhone8
for ESI eSIP
& ESI eCloud PBX
TM
Copyright © 2020, Estech Systems, Inc. (ESI). ESI systems are protected by various
US patents, granted and pending. For more information on ESI and its products, visit
www.esi-estech.com.
TM
TM
0455-0279 Rev B
