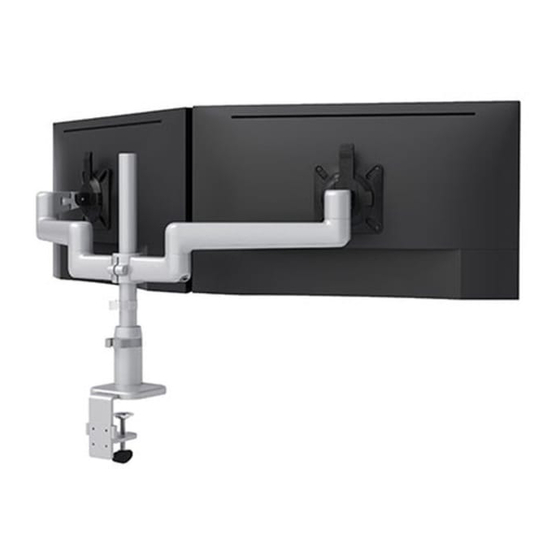
ESI KATAEX2-GM-FMS-BLK 설치 지침 매뉴얼 - 페이지 6
{카테고리_이름} ESI KATAEX2-GM-FMS-BLK에 대한 설치 지침 매뉴얼을 온라인으로 검색하거나 PDF를 다운로드하세요. ESI KATAEX2-GM-FMS-BLK 12 페이지. Dual fixed+motion+slider monitor arm

KataEX2-FMS
Step #6: attach VESA plates to monitors
• Remove each VESA plate from its VESA mount by (1) pushing forward the tab at the top and (2) lifting upward.
— TIP: Practice re-installing the VESA plate before attaching it to the monitor. This will make step #7 easier.
• Place the monitor face down on a flat surface. Align the VESA plate holes with the holes on the back of the monitor. Attach the VESA plate using the four VESA plate
screws provided.
— There are two sets of four holes on the VESA plates. One set has holes 3.9" (100mm) apart, the other set has holes 3" (75mm) apart. Use the set that matches the
holes on the rear of the monitor.
lift o VESA plate
2
1
push tab forward
Step #7: attach monitors to VESA mounts
• Slide the VESA plate (with monitor attached) back onto the VESA mount.
— Make sure the VESA plate clicks securely in place.
• OPTIONAL: Secure the VESA plate to the VESA mount using one of the M4x15 set screws, as shown below. Tilt the monitor upward for access to install the set screw.
attach
monitor
VESA
plate
VESA
mount
VESA plate screw
VESA
plate
monitor
(face down)
tilt up
2mm Allen key
Page 6
Assembly
3.9"
(100mm)
3"
(75mm)
VESA locking screw
M4x15
