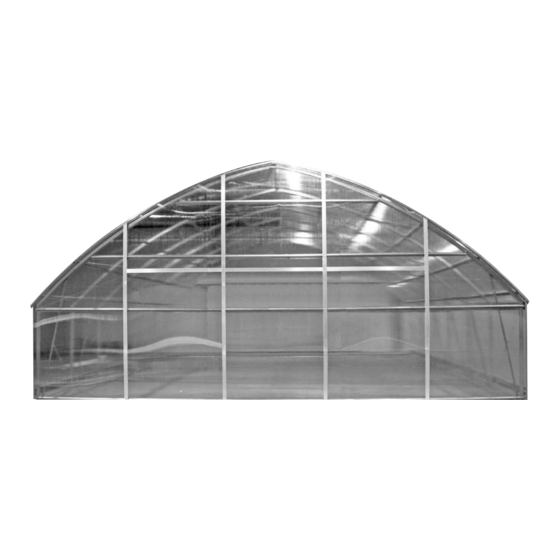
ClearSpan R035B00008 매뉴얼 - 페이지 4
{카테고리_이름} ClearSpan R035B00008에 대한 매뉴얼을 온라인으로 검색하거나 PDF를 다운로드하세요. ClearSpan R035B00008 13 페이지. Twin-wall polycarbonate end panel kit 30' wide & 35' wide

ASSEMBLY PROCEDURE
Following the instructions as presented will help ensure
the proper installation of the polycarbonate panels. The
steps outlining the assembly process are as follows:
1.
Verify that all parts are included in the shipment.
Notify Customer Service for questions or concerns.
2.
Read these instructions and all additional
documentation included with the shipment before
you begin.
3.
Gather the tools, bracing, ladders (and lifts), and
assistants needed to assemble the end frame.
4.
Check the weather
before you install the end wall
panels. Do not install panels on a windy or stormy
day or when such conditions are expected.
5.
Install the polycarbonate panels.
6.
Read the care and maintenance information at the
end of these instructions.
7.
Complete and return all warranty information as
instructed (if included).
UNPACK AND IDENTIFY PARTS
The following steps will ensure that you have all the
necessary parts before you begin to install the end
panels.
1.
Unpack the contents of the shipment and place
where you can easily inventory the parts. Refer to the
Bill of Materials/Spec Sheets.
2.
Verify that all parts listed on the Bill of Materials/Spec
Sheets are present. If anything is missing or you
have questions, consult the parts guide on the next
page and all shelter diagrams for clarification, or
contact customer service.
NOTE: At this time, you do not need to open the
plastic bags containing smaller parts such as
fasteners and clamps.
QUICK START GUIDE
For a quick overview of the end panel kit and its
components, consult the Quick Start Guide located at the
back of these instructions. Diagrams in the Quick Start
section show frames with sidewall panels installed.
ATTACHING THE PANELS
When setting the panels in position, remember to install
each panel with the UV-protected surface facing toward
the outside. Read the information printed on each panel.
4
Important Information
PARTS IDENTIFICATION
The following graphics and photos will help you identify
the different hardware used for the installation of the end
panel. (Some parts are not shown.)
102921B & FA4484B
Tek Screws and neo-
bonded washers
104213
Aluminum
U-Channel Profile
104212
Aluminum
H-Channel
104774
100441
Vent Tape
Nut Setter
Revision date: 06.04.10
