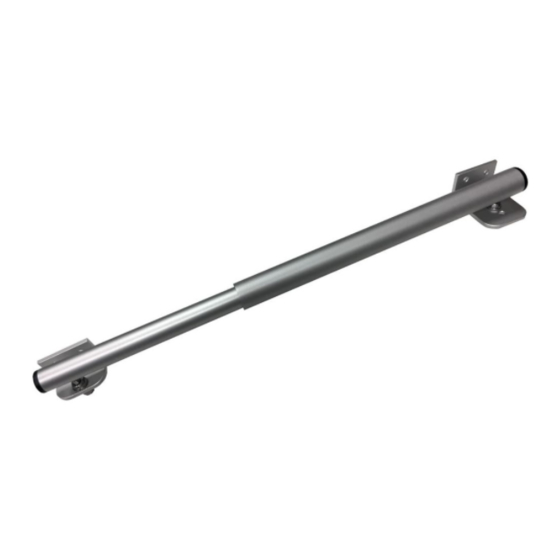
diybook KG Garden Gate Closer GTS 120 마운팅 - 페이지 3
{카테고리_이름} diybook KG Garden Gate Closer GTS 120에 대한 마운팅을 온라인으로 검색하거나 PDF를 다운로드하세요. diybook KG Garden Gate Closer GTS 120 9 페이지. Garden door-closer
diybook KG Garden Gate Closer GTS 120에 대해서도 마찬가지입니다: 설치 지침 (7 페이지), 조립 지침 매뉴얼 (7 페이지)

gardengatecloser.com
a diybook KG brand
Step 1: Determine mounting position of garden gate closer
First, you need to determine the position of the gate closer. It can be positioned at the top of the gate, in the middle or at
the bottom. It is important that it is mounted levelled! As well, the two brackets (bracket 1 and bracket 2) need to find
sufficient hold on the wall and on the gate respectively. The larger bracket (bracket 1) is to be mounted on the post.
The smaller bracket (bracket 2) is to be mounted on the gate.
Step 2: Measure bracket 1 wall-/ post-sided
After having positioned the gate closer correctly, check the distance of the gate´s pivot point (located in the middle of the
hinges) and the pivot point of the closer (chosen mounting hole of bracket 1). For measuring use the larger bracket
(bracket 1).
The sum of the two distances A and B should not exceed 150 mm, and also should not be less than 140 mm
either. However, if the sum of the distances is bigger than 150 mm, the gate can only be opened a little less than 90° at
worst.
The pictures below show an example in which the distance A is about 60 mm. That means the distance from the centre
of the hinges to, in this example, the inner mounting hole of the larger bracket 1. Now move bracket 1 laterally alongside
the post until distance B is 90 mm. Just as done when measuring distance A, distance B is also defined by measuring
from the centre of the hinges to the position of the mounting hole on the bracket.
diybook KG
Korneuburger Strasse 68-70/2
AT-2102 Bisamberg, AUSTRIA
UID-Nr: ATU67654415, DE313733795
FB-Nr: FN 387443 w
telephone: +43 2262 712 51
fax: +43 2262 712 51-77
email: [email protected]
website: https://gardengatecloser.com
page 3
