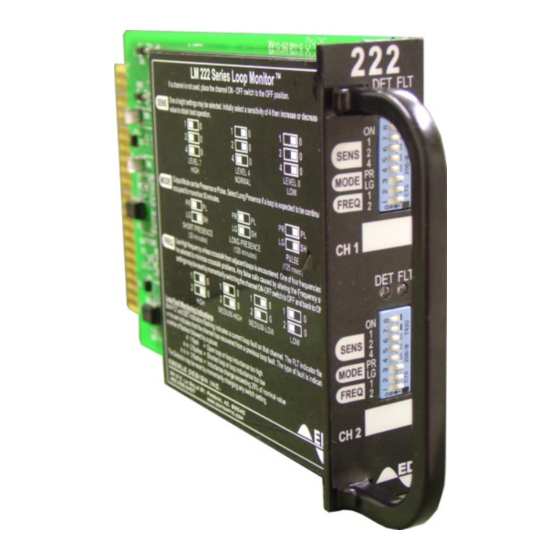
EDI 222 Series 운영 매뉴얼 - 페이지 5
{카테고리_이름} EDI 222 Series에 대한 운영 매뉴얼을 온라인으로 검색하거나 PDF를 다운로드하세요. EDI 222 Series 17 페이지. Inductive loop detector sensor unit

HIGH (0). Four frequency positions are available on each channel to assist in alleviating
interference affecting more than two units.
e. If a channel is not to be used, it may be switched off (disabled) by setting the top DIP
switch (switch 8) away from the ON setting.
f. Check the front indicators. If both the DET and FLT indicators on a channel are flashing
and no vehicles are present, there is a problem with the loop or the connections to the loop
on that channel. Check the loop connections carefully.
Note: Each channel may be reset by momentarily selecting channel OFF and then ON
once more.
g. Monitor operation and make adjustments to sensitivity and frequency as necessary.
1.5 LOOP INSTALLATION
The following are suggested guidelines for loop installation:
To begin, make sure that the pavement surface in the area in which the loops are to be installed is
dry and free of debris. The outline of the loops should be marked on the pavement in such a way that
the lines can be followed easily by the saw operator and not be erased by the water feed from the
saw itself.
All 90 degree corners should be chamfered so that the course of the loop wire does not change
direction sharply but rather at shallower angles of 45 degrees or less. Core drilling of the corners
achieves the same effect but can still lead to failure due to sharp edges remaining in the corner area.
When the outline of the loop and lead-in has been marked, the pavement can be cut. Diamond blade
cutting saws are recommended. The saw cut should be approximately 1.5 inches deep and 3/8" to ½"
wide. The saw slot should then be cleaned and allowed to dry. Compressed air is useful both for
ejecting debris and speeding up the drying process. All debris in the vicinity of the saw slot should
also be removed so that it is not accidentally pushed back in.
Recommended loop wire is 14 gauge stranded copper wire with an insulating sheath of polypropylene
type XLPE. IMSA specification 51-1 or 51-3 cable is suggested. Start laying the cable from the
termination of the lead-in out towards the loop, continue around the loop for the number of turns
required and finally return to the lead-in termination. When winding quadrupole loops ensure that the
correct figure-of-eight configuration is maintained with the wires laid in the same direction in the
center arm of the loop. Leave the lead-in cable out of the slot so that it may be twisted together before
being laid in the slot.
As a general rule loops with circumference lengths less than 30 feet require 3 turns of wire, loops with
greater circumference should have 2 turns. Lead-ins should be twisted with a minimum of 4 to 6
twists per foot to prevent any separation of the lead-in wires.
If long lead-ins are required, it is suggested that the loop cable be spliced onto shielded, pre-twisted,
lead-in wire (IMSA spec 50-2 is suggested) at a convenient pull box location close to the loop. The
Eberle Design Inc.
Model 222
Operations Manual
Frequency
FREQ 1
High
OFF
Med. High
OFF
Med. Low
ON
Low
ON
FREQ 0
OFF
ON
OFF
ON
Page 3
