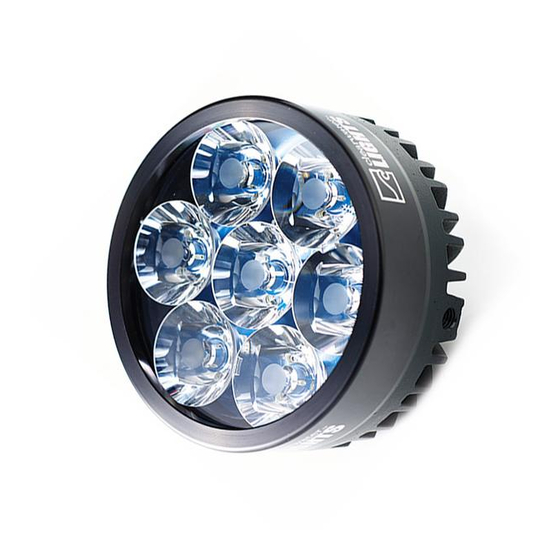
ClearWater Lights Dixie 설치 매뉴얼 - 페이지 8
{카테고리_이름} ClearWater Lights Dixie에 대한 설치 매뉴얼을 온라인으로 검색하거나 PDF를 다운로드하세요. ClearWater Lights Dixie 12 페이지. Led light kit dimmable

Step 5: Alignment / Helpful Tips
Aligning The Lights:
As Erica, Krista, and Sevina are designed as auxiliary lights,
adjustment is up to the user depending on his or her needs. Ask an
assistant to help you with this procedure. Make sure the bike is on level
ground and have an assistant sit on the bike. Using a level, alight the
lights to be perpendicular to the ground. Another method would be to
position a large square on the floor and slide it up to the light. The goal is
to adjust the lights so that the light is level with the ground.
Passengers and luggage may alter the alignment of the light, so
further adjustments may be needed. You may find that a slight downward
angle (5 degrees at most) is helpful. Often times it is helpful to angle the
right side light toward the right side of the road. This helps with identifying
road terrain and potential critters.
Do Not Kink The
Grommet
To maintain the integrity
of the water sealling
grommet, do not kink,
deform or put pressure
on the grommet
when dressing the
wires during install of
Clearwater Lights.
Page 8
Do Not Kink The Grommet
Page 7
