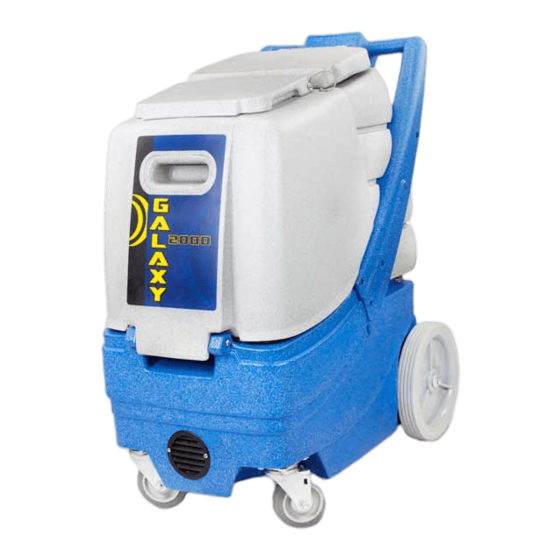
Edic 2000KX-HR 소유자/운영자 매뉴얼 - 페이지 10
{카테고리_이름} Edic 2000KX-HR에 대한 소유자/운영자 매뉴얼을 온라인으로 검색하거나 PDF를 다운로드하세요. Edic 2000KX-HR 19 페이지. Professional 12 gallon carpet extractor

CLEANING CARPET:
1. Using a dedicated dry vacuum, pre-vacuum the space
to be cleaned to remove as much dirt as possible. Do
not use the extractor to dry vacuum as it does not
have a dry filter.
2. Pre-spray the carpet
3. If using a heater, please see steps 1-11 in section
"How to use an accessory heater"
4. Make sure the drain valve (#10 on page 6) is closed by
pushing the T-handle all the way in.
5. Always use de-foamer- Previously shampooed carpets
usually have a heavy build-up of old shampoo residue
which can cause the vacuum system to ingest foam
and result in damage to the vacuum motor.
6. With the vacuum and pump switches in the "ON"
position, slowly pull the tool towards you with the
solution valve trigger pressed. Make a dry pass for-
ward and backward over the cleaned area to recover
residual dirt and solution.
7. Do not overwet carpet! Make overlapping passes to
prevent streaking.
8. If the carpet is heavily soiled, squeeze solution valve
trigger on the forward pass as well as backwards,
allowing cleaning solution a few seconds longer to
work prior to vacuuming. Another method is to raise
the wand 8" above the carpet and pre-spray lightly
prior to cleaning passes. On extremely soiled carpets,
we recommend using a pre-spray solution.
9. When you are close to running out of solution, turn
off the pump and the heater. Attach the drain elbow
on the drain valve. Place a pail under the downspout
and pull up the drain valve T-handle. Dirty solution
will pour out until the tank is empty. Close the drain
valve. Use a clean bucket when you refill the solution
tank so you do not create contamination.
10. When the job is completed, turn the switches off,
including the heater, and disconnect the vacuum and
solution hoses from the carpet tool and the machine.
Drain the recovery tank through the drain valve as
before.
CLEANING UPHOLSTERY:
Cleaning upholstery with success requires a good knowl-
edge of the type of fabric to be worked on. Look for the
cleaning instruction label sewn on the underside of the
furniture for the recommended method of cleaning the
fabric. If it calls for dry cleaning, do not attempt to clean
with the wet extraction method. Otherwise, damage to
the fabric could occur. Extraction works perfectly on
most synthetic fabrics including synthetic velvets.
Before proceeding, test the fabric for colourfastness.
Apply a small amount of ready-to-use cleaning solution
on the fabric in an inconspicuous spot. Wait for 2 to 3
minutes and rub the area with a white terry cloth towel.
If no color comes off the towel, the fabric should be safe
to clean. If a little color comes off, there is some risk of
colors running when you clean. It may be possible to
stabilise colors by cleaning with an acidic rinse.
1. Using a dedicated dry vacuum, pre-vacuum the space
to be cleaned to remove as much dirt as possible. Do
not use the extractor to dry vacuum as it does not
have a dry filter.
2. See steps 1-11 in section "How to use an accessory
heater"
3. Make sure the drain valve (#10 on page 6) is closed by
pushing the T-handle all the way in.
4. Attach an upholstery tool to the hose set.
5. Always use de-foamer. Previously cleaned upholstery
may have a heavy build-up of old shampoo residue
which can cause the vacuum system to ingest foam
and result in damage to the vacuum motor.
6. With the vacuum and pump switches in the "ON" po-
sition, slowly pull the tool backward with the solution
valve trigger pressed. Make a dry pass forward and
backward over the cleaned area to recover residual
dirt and solution.
7. Clean using as little solution as possible. Do not
overwet the upholstery! Make overlapping passes to
prevent streaking.
8. On heavily soiled areas like arm rests, pre-treat with a
recommended pre-spray and /or hold the upholstery
tool a few inches above the fabric and press lever to
spray on the solution before making a pass.
10
