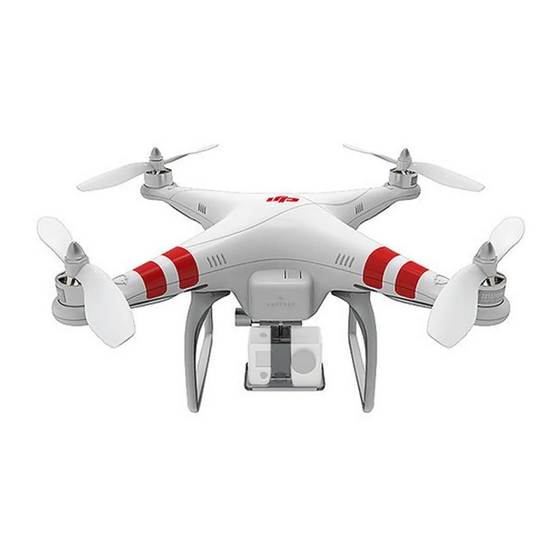
dji PHANTOM 빠른 시작 매뉴얼 - 페이지 6
{카테고리_이름} dji PHANTOM에 대한 빠른 시작 매뉴얼을 온라인으로 검색하거나 PDF를 다운로드하세요. dji PHANTOM 14 페이지. Led indicator description & faq
dji PHANTOM에 대해서도 마찬가지입니다: 빠른 시작 매뉴얼 (17 페이지), 빠른 시작 매뉴얼 (8 페이지), 사전 매뉴얼 (6 페이지), 빠른 시작 매뉴얼 (3 페이지), 매뉴얼 (6 페이지), 빠른 시작 매뉴얼 (3 페이지), 마운팅 (2 페이지)

Before Flying
1.
Power on the TX
1. Open the battery compartment cover of the TX.
2. Put into the 4 battery in accordance with the + /- pole.
3. Close the battery compartment cover of the TX.
2.
Battery Charging
1. Insert the AC power cord into the charger and AC cord into a
wall socket (100-240V). The charge status LED will flash green.
2. Select the battery type LiPo and the charging current 2A.
3. Connect the battery main charge lead to battery socket and
battery balance wire to balance port.
4. Start charging. The charge status LED and the 1S/2S/3S cell
LED will glow constant red.
5. When the charge status LED glows constant red, it is charging
in CC mode and LED glows green and red blink is in CV mode.
6. When the cell LED is flashing, it is discharging for balancing.
7. When the battery is fully charged, the charge status LED will
glow constant green. Unplug the battery from the charger.
Make sure to use the battery after fully charging.
When the charger is in CV mode (with green and red LED
blinking), the battery is over 80% charged .If you need to
use the battery at once, make sure it is 80% charged.
Please use the battery according to the sticker prompted.
3.
Assemble the Propeller
Make sure the rotation direction of propellers is correct.
©2012
DJI Innovations. All Rights Reserved.
It is recommended to use the
Nickel-Hydrogen charging battery.
Take out the battery after usage.
Cell 2 LED
Cell 1 LED
Battery Socket
Charge
Status
LED
Cell
LED
4.
Mount the Bi-pod if necessary
To a wall socket
AC 100-240V
Cell 3 LED
Cell 4 LED
Ready
CC Mode
CV Mode
Finish
Charging
Discharging
6 |
