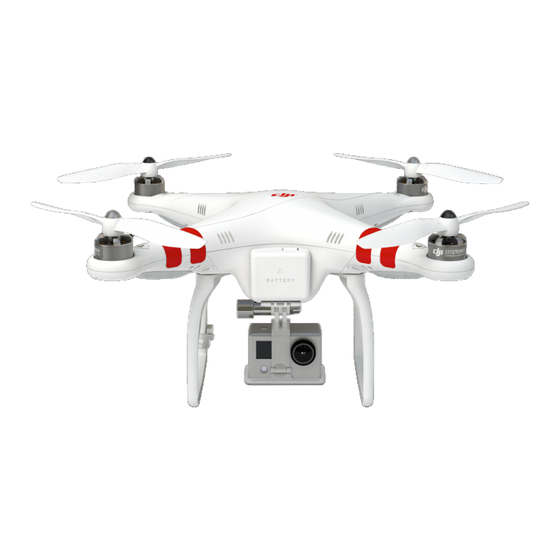
dji Phantom 1 시작하기 매뉴얼 - 페이지 3
{카테고리_이름} dji Phantom 1에 대한 시작하기 매뉴얼을 온라인으로 검색하거나 PDF를 다운로드하세요. dji Phantom 1 11 페이지.

- 1. Basic Definitions
- 2. Assemble Quadcopter and Install Camera on FC40
- 3. Phantom Software Installation and Upgrading
- 4. USB and Battery Connection for Upgrades and Settings
- 5. Naza Asst.
- 6. One of Many Screens in the DJI NAZA Assistant Software
- 7. Calibrate the Compass
- 8. Landing
- 9. Orientation
- 10. Share this
DJI Phantom 1 & FC40 setup – Getting Started Guide
USB and Battery Connection for Upgrades and Settings
1. Download and install the any drivers (windows only, none needed for mac) and the NAZA
Assistance programs from DJI install them – drivers first, then the Assistant program.
2. Connect your Phantom USB to your computer – open the battery compartment of your
Phantom (no battery installed) and locate the USB cable inside – pull it out and connect it to
your computer. Now turn on the DJI remote (transmitter) – put the S1 and S2 switches in the
UP position – and connect the battery to the DJI Phantom – leaving the battery hanging
outside the quadcopter. The LED on the FC40 should turn solid green when connected to
Copyright - Droneflyers.com - 2016
