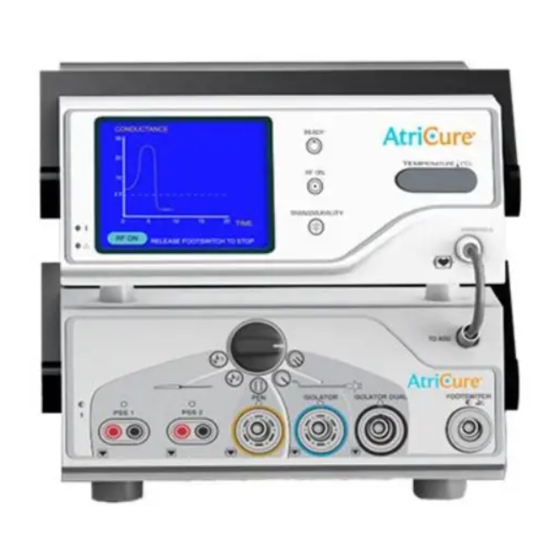
ArtiCure ASB 빠른 시작 매뉴얼 - 페이지 3
{카테고리_이름} ArtiCure ASB에 대한 빠른 시작 매뉴얼을 온라인으로 검색하거나 PDF를 다운로드하세요. ArtiCure ASB 4 페이지.

Instructions for Use
1 / Ensure all ASU and ASB cable connections are
secure according to the schematic on page 2.
2 / Power on the ASU and ASB by activating switches
on the back of each machine.
• If there is no power after this step, check
snugness of power cable and (if applicable)
that the main power switch on the cart is
turned on. This main power switch is located on
the very bottom of the front of the cart.
3 / With the connector alignment arrow in
the 12 o'clock position, push the Footswitch
Connector into the Footswitch Receptacle
on the front of the ASB. The Footswitch may
be connected when powered up, or prior to
powering up the ASU.
4 / Connect Handpiece(s) with the arrow facing
upward into the appropriate receptacle(s) on the
ASB switch box as shown on page 2.
5 / Select the desired channel for use. Only one
ASB channel may be active at a time. Using
ASB selector knob, select the device that
requires power.
Note: Example shows ASB configured to power an Isolator
Clamp or Isolator Synergy Access
"Isolator Dual" channel.
3
Synergy
®
Clamp that is plugged in to the
®
6 / When all of the above conditions have been met,
the ASU screen will read "READY" and "Depress
footswitch to begin."
7 / Position the Handpiece.
• To position the Handpiece, follow the
Instructions for Use provided with the
Handpiece.
8 / Deliver RF Energy.
• Press the Footswitch to initiate RF energy
output. RF energy output is terminated by
releasing the Footswitch or at the end of 40
continuous seconds of energy delivery. The
display screen of the ASU will indicate that
the generator is in the RF ON mode.
™
