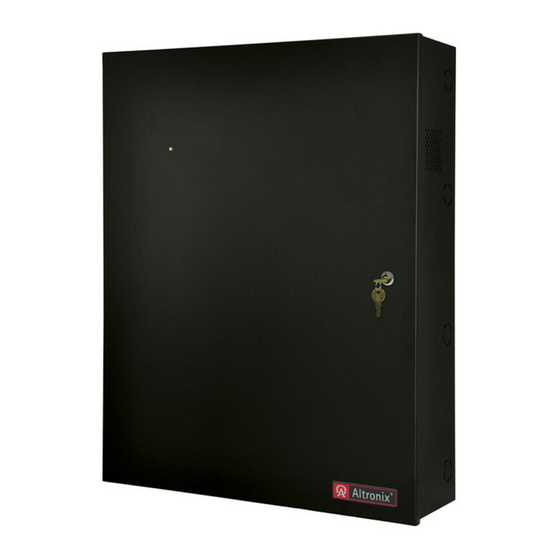
Altronix T2MK75F16DQ 설치 매뉴얼 - 페이지 7
{카테고리_이름} Altronix T2MK75F16DQ에 대한 설치 매뉴얼을 온라인으로 검색하거나 PDF를 다운로드하세요. Altronix T2MK75F16DQ 8 페이지.

TMV2 (T2MK75F16D, T2MK75F16DQ, T2MK77F16D, and T2MK77F16DQ):
TMV2 accommodates a variety of Mercury boards with or without Altronix sub-assemblies for access systems.
Mercury Access Controllers:
1. Fasten snap on standoffs onto metal pems configuration (A) (B) of backplane depending on the access controller (Fig. 6, pg. 7).
2. Position access controller module over corresponding standoffs and depress onto snap on standoffs (Fig. 6a, pg. 7).
3. Mount backplane to enclosure with hardware.
Altronix Sub-Assemblies and/or Adapters:
1. Fasten nylon / snap on standoffs to pems which match the hole pattern for Altronix Sub-Assemblies (Fig. 6, 6a, pg. 7).
2. Mount boards to standoffs utilizing pan head screws provided with the product or by depressing board onto snap on standoff
(Fig. 6, pg. 7).
Note: For GB1 please use standoffs supplied with the adapter.
Access Controller Position Chart for the Following Models:
Access Controller
EP1502, MR52, MR16IN, MR16OUT
EP2500, MUX8
Sub-Assembly or Adapter
ACM4(CB), MOM5, PD4UL(CB), PD8UL(CB), PDS8(CB), VR6, GB1 (Genetec Synergis Cloud Link adapter plate)
Fig. 6
T2MKD Kits
Configuration of Mercury and/or Altronix Boards
A
B
A
B
A
B
Mercury
Altronix
A
C
B
A
C
B
A
C
B
Pem Mounting
A
B
Pem Mounting
C
Nylon
Standoff
Pem
Snap on
Standoff
Backplane
Sub-Assembly
Fig. 6a
- 7 -
