3M 9000 Series 운영자 매뉴얼 - 페이지 5
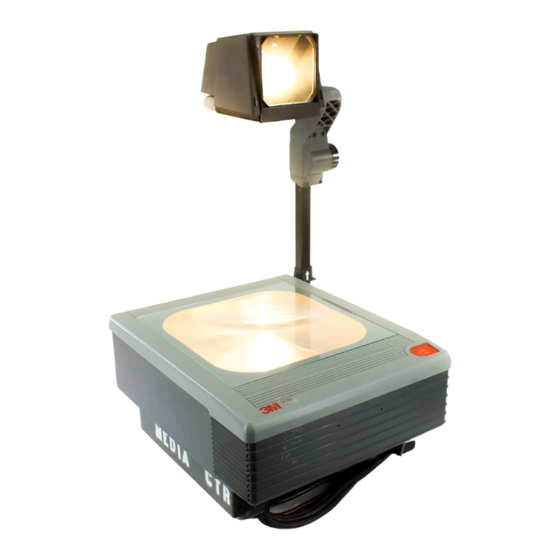
{카테고리_이름} 3M 9000 Series에 대한 운영자 매뉴얼을 온라인으로 검색하거나 PDF를 다운로드하세요. 3M 9000 Series 7 페이지. Overhead projector
3M 9000 Series에 대해서도 마찬가지입니다: 운영자 매뉴얼 (17 페이지)
Lamp Replacement
ENX -- 82V, 360W
9050, 9060, 9070,
or
9080, 9100
FXL -- 82V, 410W
9075, 9085, 9200
1. Turn projector off and unplug the power cord.
2. Lift up top cover.
Lamp Changer/Indicator
1. The 9080, 9085, 9100, 9200 and 9550 have a
lamp changer feature.
Note
9080/9085 only: To access the Lamp
Changer Control, raise the Top Cover.
2. To activate the second lamp, rotate the lamp
changer knob (1).
3. The 9550 has an indicator that lights up red (2).
This visual reminder alerts the operator that one
or both of the lamps are burned out or missing.
3M 9000 Series Operator's Guide
FNT -- 24V, 275W
EVD -- 36V, 400W
9550 only
!
Lamp and adjacent metal parts are hot. Allow lamp
to cool before replacing.
3. Remove and discard the old lamp. See
Illustration (A).
4. Install new lamp.
5. Push fully and squarely into socket. See
Illustration (B).
A
ENX
FXL
6. Close the top cover.
High/Low Lamp Switch -- 9070,
9075, 9085, 9100, 9200, 9550
Note
Two lamps are provided with the 9200 and
9550.
1. The High-Low lamp switch (3) * is located on
the top front control panel.
2. High is recommended for LCD projection panels.
Low is recommended for normal use.
Note
Operating the OHP in the Low lamp setting
will extend lamp life.
Note
Opening the lamp changer will deactivate the
lamp (Lamp Interlock Switch (4)).
* On some models the switch is located inside the
top cover.
B
ENX
FXL
Page 3