ALUZ A8 Series 매뉴얼
{카테고리_이름} ALUZ A8 Series에 대한 매뉴얼을 온라인으로 검색하거나 PDF를 다운로드하세요. ALUZ A8 Series 2 페이지. Tape
ALUZ A8 Series에 대해서도 마찬가지입니다: 매뉴얼 (12 페이지), 매뉴얼 (14 페이지), 설치 매뉴얼 (13 페이지)

1.5"
X
1.5"
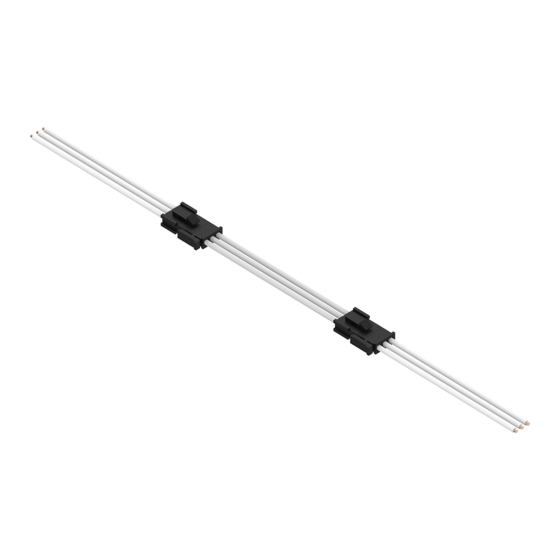
Dry Continuous Connector
20/3 Gauge Wire
(A8-CC-3P-DRY-X)
X = Specify Length, 3" Default
1170 North Red Gum Street, Anaheim, CA 92806
aluz.lighting
© ALUZ All rights reserved. ALUZ reserves the right to make changes or withdraw specifi cations without prior notice.
ZUDA SOLDERING GUIDE
1
Cut lightstrip to desired length. Include both sets of solder pads by
cutting to the left or right of designated markings, allowing more
space for soldering.
2
Prepare wires by stripping 1/8" from the end of each wire, then tin
the tips of the wire with solder. Apply heat to stripped portion of
wire, then add a small amount of solder until stripped portion of
wire is fully covered in solder.
3
Solder lead wires to solder pads on the end of lightstrip.
• Solder the Yellow wire to the pad marked "w".
• Solder the White wire to the pad marked "c".
• Solder the Brown wire to the pad marked "+".
Note: Solder iron not to exceed 720°F. Heat joint with tip of iron.
Heat both the solder pad and the wire. Add a small drop of solder
on the tip of solder iron to transfer the heat to joint quickly; it
should melt and flow smoothly, covering the wire and pad.
Remove iron once enough solder has been added to the
components. Allow 5 seconds for the joint to cool.
0.50"
Note: Appearance of lightstrip may differ from example shown.
Refer to wiring diagrams before soldering any wires.
866.ALUZ.LTG | 714.535.7900
A8 Series | LED Tape
CONNECTOR Dry Continuous Connector
(A8-CC-3P-DRY)
1
After soldering is completed, make connections between connectors
by plugging the male and female disconnects together.
2
Position connectors as needed.
This document is issued in strict confidence on condition that it is not used as
a basis for manufacture or sale and is not copied, reprinted, or disclosed to a
third party either wholly or in part without the prior written consent of ALUZ.
CONNECTORS
Installation Cut Sheet
Page 1 of 2
3 / 7 / 2022 / Rev 0
