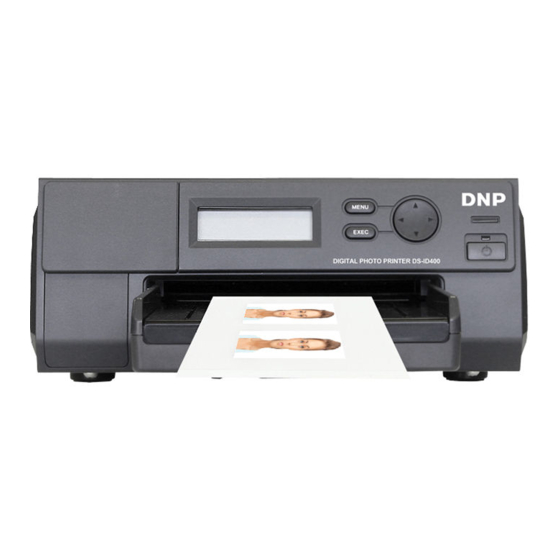
DNP DS-ID400 설정 매뉴얼 - 페이지 3
{카테고리_이름} DNP DS-ID400에 대한 설정 매뉴얼을 온라인으로 검색하거나 PDF를 다운로드하세요. DNP DS-ID400 10 페이지. Digital photo printer
DNP DS-ID400에 대해서도 마찬가지입니다: 설정 방법 (2 페이지), 설정 매뉴얼 (10 페이지), 설정 매뉴얼 (7 페이지)

Copyright Notice
©2012 Dai Nippon Printing Co., Ltd. All rights reserved.
This manual may not be reproduced, translated or reduced
to any machine readable form in whole or in part, without
prior written approval from Dai Nippon Printing Co., Ltd.
DAI NIPPON PRINTING CO., LTD. PROVIDES NO
WARRANTY WITH REGARD TO THIS MANUAL OR
INFORMATION CONTAINED HEREIN AND
HEREBY EXPRESSLY DISCLAIMS ANY IMPLIED
WARRANTIES OF MERCHANTABILITY OR
FITNESS FOR ANY PARTICULAR PURPOSE WITH
REGARD TO THIS MANUAL OR SUCH
INFORMATION. IN NO EVENT SHALL DAI NIPPON
PRINTING CO., LTD. BE LIABLE FOR ANY
INCIDENTAL, CONSEQUENTIAL OR SPECIAL
DAMAGES, WHETHER BASED ON TORT,
CONTRACT, OR OTHERWISE, ARISING OUT OF OR
IN CONNECTION WITH THIS MANUAL OR
INFORMATION CONTAINED HEREIN OR THE USE
THEREOF.
Dai Nippon Printing Co., Ltd. reserves the right to make
any modification to this manual or the information
contained herein at any time without notice.
About the ID Photo
Template Editor
This document describes how to use ID Photo Template
Editor to create layout templates for the DS-ID400. You
can make multiple templates for different applications.
Templates created using ID Photo Template Editor can be
used with DS-ID400 printers on which firmware Ver. 1.00
or later is installed.
For the latest information on compatible printers, visit the
following Web site.
http://dnpphoto.net/support-e/
Preparation
Operating Environment
The ID Phot Template Editor requires an IBM PC/AT-
compatible personal computer with the following
operating environment.
Operating system
• Microsoft Windows XP
• Microsoft Windows Vista
• Microsoft Windows 7
Display monitor (recommended)
At least XGA (1024 × 768 pixels) and 24-bit color
For the latest information on compatible printers, visit the
following Web site.
http://dnpphoto.net/support-e/
Installation
1
Double-click the msi file.
2
Read the information in the displayed dialog, and click
the [Next] button as instructed.
The dialog will display a message indicating that
installation has been completed.
3
Click the [Close] button to close the dialog.
Copyright Notice / About the ID Photo Template Editor / Preparation
3
