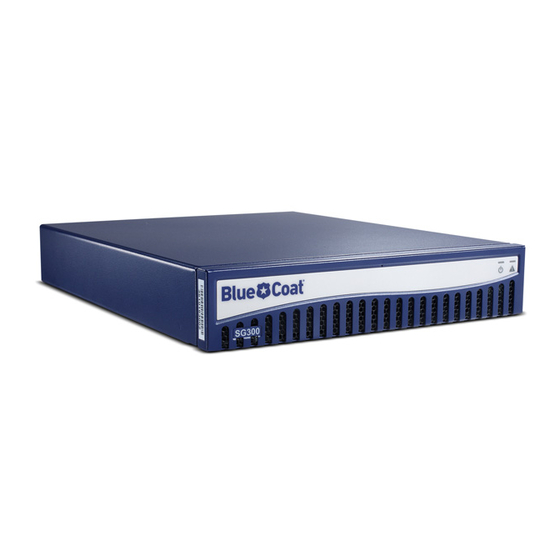
Blue Coat ProxySG 300 Series 빠른 시작 매뉴얼
{카테고리_이름} Blue Coat ProxySG 300 Series에 대한 빠른 시작 매뉴얼을 온라인으로 검색하거나 PDF를 다운로드하세요. Blue Coat ProxySG 300 Series 2 페이지.
Blue Coat ProxySG 300 Series에 대해서도 마찬가지입니다: 컴팩트 플래시 카드 교체 (9 페이지)

3
Unpacking the Appliance
1
Unpack the shipment and verify the contents of the box.
The Blue Coat ProxySG 300 series appliance ships with the following components:
•
•
Blue Coat SG300 appliance
Software License Agreement
•
•
External AC power supply adapter with AC
Quick Start Guide (this document)
power cord and retaining clip
•
•
Null-modem serial cable
Safety and Regulatory Compliance
Guide
3
Connecting the Cables
2
Blue Coat recommends connecting the cables and verifying the LED display to ensure proper
functionality before deploying the appliance.
Figure 1 shows a typical Blue Coat ProxySG network deployment:
ProxySG Deployed In-Path
ProxySG 300 Series Appliance
Switch
SG300
Main Site LAN
The following installation assumes the network deployment shown in Figure 1 is present. For
other deployment options, see the ADN Deployment Guide and the WCCP Reference Guide,
available for viewing at:
https://bto.bluecoat.com/documentation/pubs/view/SGOS 5.5.x
ProxySG Deployed In-Path
Power switch
ProxySG 300 Series Appliance
Power
supply
retaining clip
Null modem
serial cable
Power adapter
Before connecting the ProxySG into your network, disconnect the existing LAN switch network
cable from the WAN router. This cable will be reused during installation.
ProxySG Quick Start Guide
SG300 Series
For compliance model number 300
To attach the cables
1.
Connect the network cable from the LAN switch and plug it into the 1:1 port network
interface on the ProxySG.
2.
Connect a network cable from the WAN router to the 1:0 port network interface on the
ProxySG. The interface auto-negotiates 10/100/1000 Base-T speed and duplex settings.
3.
Connect a null-modem serial cable from the ProxySG to a PC (or serial terminal). This
connection is used to perform initial configuration via a direct serial connection.
4.
Connect the power adapter to the ProxySG DC power supply inlet, and then connect the
AC plug into a power source. Activate the power switch to turn on the appliance.
5.
The included power supply cord retaining clip can be used to eliminate cord slippage.
Install by squeezing the sides of the clip and inserting the ends into the mounting loops
located above the DC power supply inlet. Once the retaining clip is attached, swing over
the plug body to secure onto place (see figure 2).
Note: The SG300 can be used within a desktop location or in an equipment rack using a
rack-mount shelf (not included).
Verifying the LEDs
3
To verify that the appliance has booted and is operational, check the following:
Router
Internet
Figure 1
WAN (Router)
The following illustration shows the location of the LED indicators on the ProxySG 300 series:
LED Indicators
LAN (Switch)
Figure 2
SG300
(Figure
2):
If the Power LED light:
•
Is amber, the appliance is on, but the OS has not loaded.
•
Blinks
amber
to green, the OS has loaded but is not configured.
•
Is green, the OS has loaded and is properly configured.
If the System LED light:
•
Is green, the appliance is functioning properly.
•
Is amber, the appliance has encountered a warning.
•
Is flashing amber, the appliance has encountered a critical problem.
•
Is OFF, the appliance has not determined the system status.
Power LED
System LED
Tasks
1. Unpacking the Appliance
2. Connecting the Cables
3. Verifying the LEDs
4. Performing Initial Configuration
3
Performing Initial Configuration
4
You must have the following network information on hand to perform initial configuration:
•
ProxySG IP address and Name
•
Primary DNS server IP address
•
Link Settings (speed and duplex)
•
Director IP address (if using Director)
To access the ProxySG command-line interface and run the configuration wizard:
1.
Confirm that a null modem serial cable is connected from the ProxySG appliance to your
workstation serial port. For cabling instructions, see Connecting the Cables.
2.
Open a terminal emulation program (such as Windows HyperTerminal).
3.
Configure the terminal emulation software to the following settings:
Baud rate: 9600 bps
Parity: none
Flow control: none
4.
Power on the ProxySG appliance and then press <
5.
Choose a configuration method:
•
[Manual Setup] Select this method if you are configuring the ProxySG without Director
(Blue Coat's central management solution).
•
[Director-managed setup] Select this method if you are registering this ProxySG with
Director. You will need the Director appliance IP address and registration password. To
continue with Director-managed setup, go to step 7.
6.
Select how this ProxySG will be deployed:
[Acceleration] Select this solution for simplified configuration of acceleration
deployments. Selecting acceleration sets the Sky Management Console as the
default interface. This solution is typically for Acceleration Edition owners.
If you select acceleration, you must choose one of the following physical deployment
options:
•
Physically in-path
•
Virtually in-path using WCCP
•
Any other
•
[Other Solution] Select this solution for all other deployments. Selecting this sets the
Advanced Management Console as the default interface. This solution is typically for
Full Proxy Edition owners.
7.
Enter the network configuration options when prompted. If your ProxySG is connected to
the network, the configuration wizard will attempt to verify DNS server addresses and
auto-detect link settings.
Figure 3
5. Logging on and Licensing
6. Next Steps
7. Troubleshooting
•
Subnet mask
•
Default Gateway IP address
•
Administrator ID and Password
Data bits: 8
Stop bits: 1
> three times on the workstation.
Enter
Flip over to complete the installation
