FleetSharp atsolar 빠른 시작 매뉴얼 - 페이지 2
{카테고리_이름} FleetSharp atsolar에 대한 빠른 시작 매뉴얼을 온라인으로 검색하거나 PDF를 다운로드하세요. FleetSharp atsolar 2 페이지. Asset tracker
FleetSharp atsolar에 대해서도 마찬가지입니다: 빠른 시작 매뉴얼 (3 페이지)
Installing Your Battery-Powered Long Term Asset Tracker
IMPORTANT:
Before inserting batteries, you must first follow the activation process on the
customer portal (see Step 1 on the reverse side). After activating the device on the portal,
wait 10 minutes before inserting batteries. This will allow the activation process to complete
and the device to check in. If your device does not check in within 30 minutes of battery
installation, remove the batteries, wait 10 seconds and then re-insert.
4
Install the included batteries
It is very important to use 1.5V Lithium, or 3.6V Lithium thionyl chloride (LTC) AA batteries. LTC batteries not
only offer a longer life, but can withstand higher temperatures. We do not recommend the use of normal
alkaline batteries, which will only power the ATLT for a few weeks of operation.
INSTALL THE BATTERIES CAREFULLY.
installing batteries backwards can damage your device. The springs are the negative terminals.
Once the batteries are inserted, the internal LED will come on and flash.
5
Attach your tracker
The long term asset tracker can be attached to your equipment with magnets (sold separately) or with #10
(5mm) screws (not included). If possible, choose a mounting point that will not result in elevated temperatures.
Once installed and activated, your tracker will check in every 12 hours.
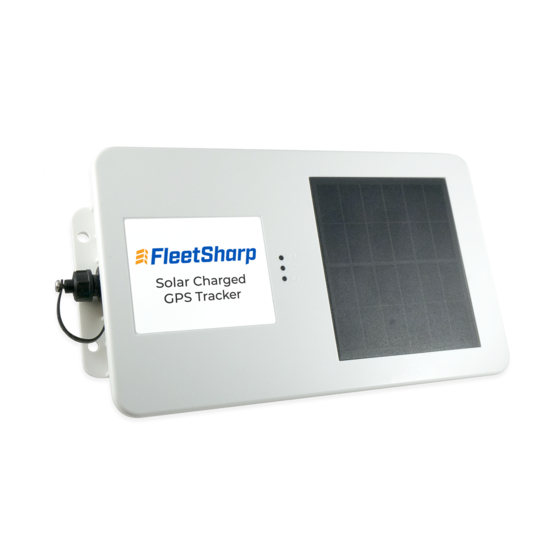
Installing Your Solar
Asset Tracker
4
Your solar tracker is set to shipping mode to
preserve the battery. Before use, hold down
the black button on the side until you see a
light. The FleetSharp solar asset tracker can
be attached to your equipment with magnets
or by using using 10-24 x 1 sized screws (not
included). ATSolar devices should be
mounted on a flat surface. Do not over
tighten and do not bend the device. Do not
use glue or other drying adhesives; they can
block a small vent on
the back of the
tracker. Make sure it
is installed in a
location that has
access to sunlight.
Get to Know the FleetSharp System
The tracker does not have reverse voltage protection, so
Map
Locate your asset at all times, view its
history, and manage your geofences.
Use Route
Replay to
review where
your asset
has been
Locate your asset
at all times.
Setup
Customize the Linxup system to make it
work best for you.
Set thresholds for
authorized hours, create
user groups, and manage
Click to edit.
users.
Need help? Click the 'Help' icon, sign up for a webinar,
or connect with a customer service agent.
A geofence can be an office,
job-site, or a restricted area and
is a virtual boundary on the map.
Alerts
Use the Alerts section to review all alerts
that occur within defineable dates.
Click the address to
see the location on a map.
Download now!
FleetSharp Mobile App
Track and monitor
your equipment with:
Real-time GPS tracking
Route Replay
Alerts