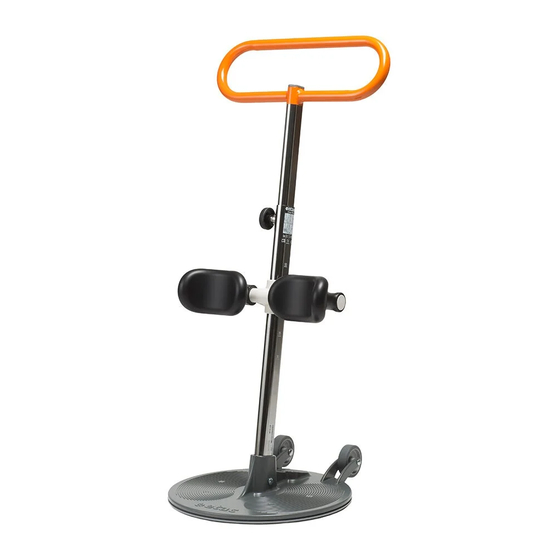
Etac Turner PRO 리컨디셔닝 - 페이지 3
{카테고리_이름} Etac Turner PRO에 대한 리컨디셔닝을 온라인으로 검색하거나 PDF를 다운로드하세요. Etac Turner PRO 3 페이지.
Etac Turner PRO에 대해서도 마찬가지입니다: 사용자 설명서 (7 페이지)

Turner PRO
Reconditioning
EN
4
Leg Support
•
Check bracket on leg support for cracks and
wear. If cracs, replace coplete leg support.
•
Check cushion for wear, should be tight and firm
around the pipe. If loose or damaged, replace
cushion.
If cushion need to be replaced:
•
Flip out knob (3) and remove cushion.
•
Clean pipe, insert new cushion and knock knob in
place.
If complete leg support needs to be replaced:
•
Unscrew bolts and remove outer pole.
•
Pull leg support out of pole.
•
Insert leg support with kneepads pointing upwards
•
Make sure both knobs are on the same side (1).
•
Tighten knob by turning knob clockwise (2).
1
Reconditioning
1
2
3
2
•
Place the base plate on an even surface. Insert
pole
the wheels.(1)
•
Insert all three screws into holes in the base
plate. Use allen key to screw in bolts. Apply
loctite 243 or simular
bolt firmly, (approx 20Nm). (2)
1
5
Main plate/outer pole
•
Check for cracks and wear on main plate and
outer pole. If cracks, replace complete Turner-
PRO.
•
Check bolted conection between pole and
main plate (3 bolts), if loose bolts tighten all
bolts.
6
•
Check for cracs and dents, if cracs or dents
replace inner pole.
Original spare parts from Etac should always be used.
3
with knee pads facing away from
on bolts, tighten
2
Handle/inner pole
