Doggy Solutions Pet Patio Potty 조립 지침 매뉴얼 - 페이지 4
{카테고리_이름} Doggy Solutions Pet Patio Potty에 대한 조립 지침 매뉴얼을 온라인으로 검색하거나 PDF를 다운로드하세요. Doggy Solutions Pet Patio Potty 8 페이지.
Doggy Solutions Pet Patio Potty에 대해서도 마찬가지입니다: 매뉴얼 (5 페이지), 빠른 시작 매뉴얼 (6 페이지), 매뉴얼 (5 페이지), 조립 지침 (4 페이지)

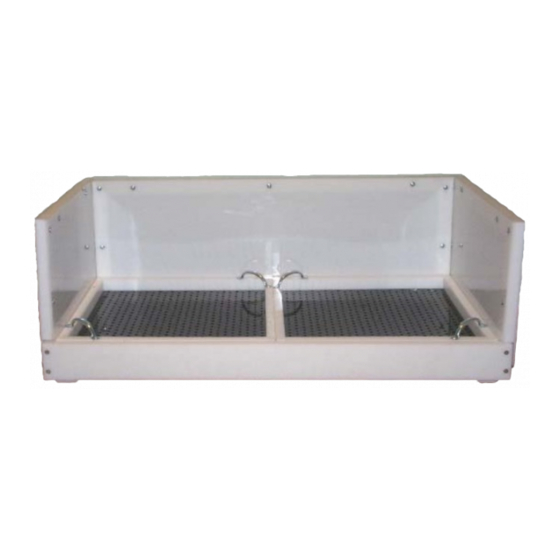
8. While holding this panel in place, slide the "Left
Panel Brace" onto the panel so that the two
pieces of Plexiglas on the panel fit snugly into
the grooves of the brace and the top frame of
the panel rests on top of the brace. (Photo 6).
9. Then, position the panel labeled "Panel 1" on
the left side of the Front Module again making
sure that the two pieces of Plexiglas fit snugly
into the grooves of the brace.The left side of
the unit is now assembled.
10. Position the panel labeled "Panel 3" on the
left half of the back side of the Left Module.
Take two of the "Side Panel Screws" provided
and using a Phillips head screw driver, screw
the back pole of "Panel 2" to the left pole of
"Panel 3" using the two pre-drilled screw
holes.
11. Slide the "Back Panel Brace" onto "Panel 3"
as described above.
Doggy Solutions – Pet Patio Potty |
4
1181 S. Huron Street, Denver Colorado USA 80223
www.doggysolutions.com
| 303.777.7195
