clivus multrum CM8 설치 매뉴얼 - 페이지 6
{카테고리_이름} clivus multrum CM8에 대한 설치 매뉴얼을 온라인으로 검색하거나 PDF를 다운로드하세요. clivus multrum CM8 16 페이지. Waterless composting toilet systems
clivus multrum CM8에 대해서도 마찬가지입니다: 설치 매뉴얼 (18 페이지), 설치 매뉴얼 (18 페이지), 설치 매뉴얼 (19 페이지), 설치 매뉴얼 (19 페이지)
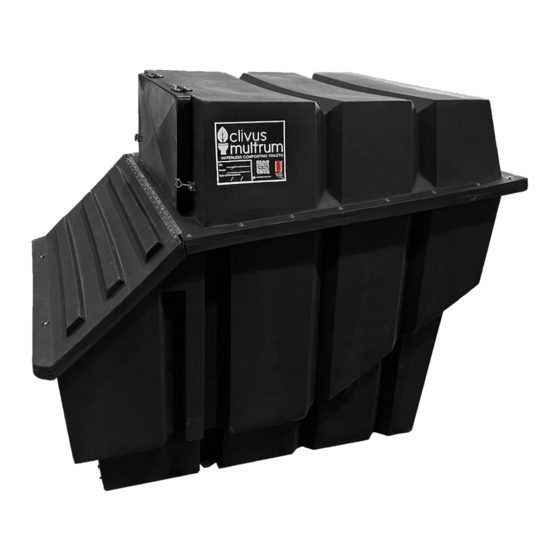
POSITIONING THE TANK
If there is very little room between the top of the tank and the floor of the building, the order
of the installation can be changed as follows: Firstly, cut the pedestal hole in the floor of the
building (refer Section 9) and then mark the hole position on the tank when the tank is in
position, but before the tank is secured into the ground. After the tank has been marked, it
can be removed from under the building and then cut the hole in the tank and fit the chute
collar before replacing the tank.
Check the position planned for the toilet chute. The toilet chute must be positioned
over the top of the compost tank. For less maintenance of the compost pile, the
optimum location for the chute/s to enter the tank is mid-width, in the rear half of
the tank. A clearance of at least 150mm from edge of chute to edge of tank-top is
desirable to avoid rapid build up of the pile against the sides.
Check there are no major support beams, pipes or electrical wire that are in the way of
the toilet chute.
Where mains power is to be used, check that a power point has been installed near the
location for the ventilation fan.
Locate where the excess liquid drainpipe and tench is to go and take this into account
when positioning the tank.
TANK SUPPORT
The composting tank must be supported by either packed earth with the tank placed on a
base of sand, or a wooden frame on a solid base; e.g. a concrete slab. Insulation between the
tank and the concrete slab will reduce heat loss and aid the composting process.
NOTE: The tank and enclosure should be protected from surface and floodwater.
Smooth Ground
50-75mm bed of
sand, fine dust or
similar solid sub-soil
Uneven Ground
6