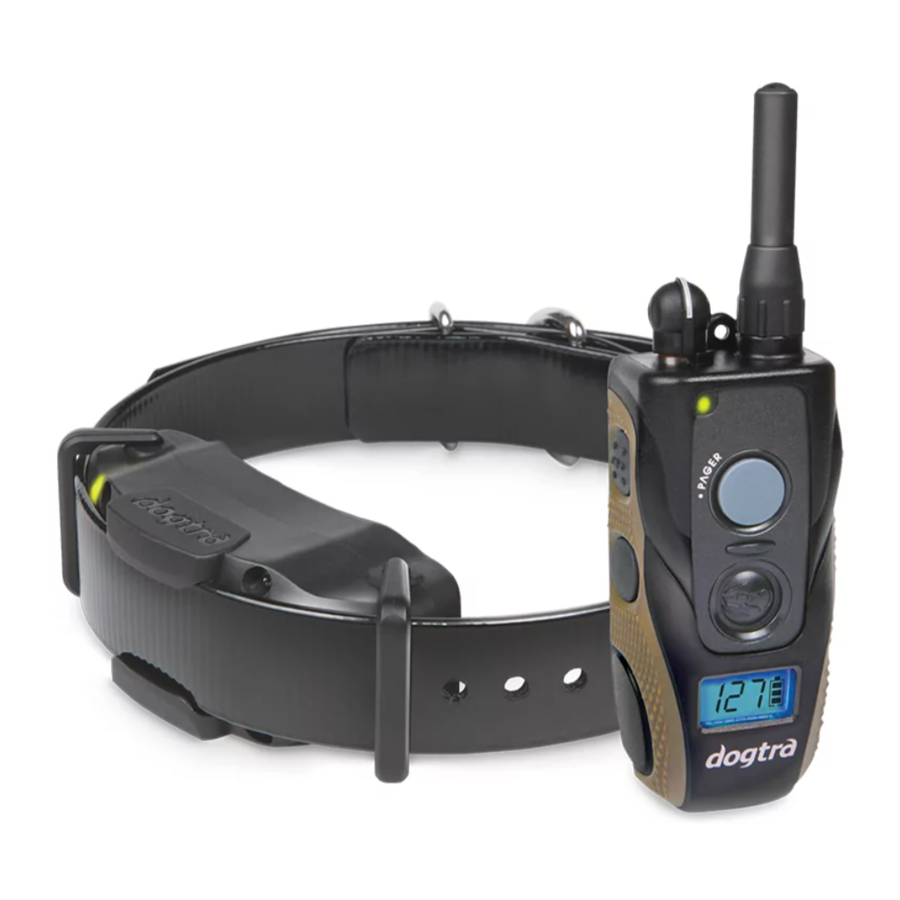
Dogtra 1900S Series 소유자 매뉴얼 - 페이지 12
{카테고리_이름} Dogtra 1900S Series에 대한 소유자 매뉴얼을 온라인으로 검색하거나 PDF를 다운로드하세요. Dogtra 1900S Series 17 페이지. Handsfree kit
Dogtra 1900S Series에 대해서도 마찬가지입니다: 제품 설명서 (14 페이지), 매뉴얼 (12 페이지)

in agreement with the dial. In this situation, it is ideal to
either wait until your transmitter is back in working order
before emitting a correction or while holding the Constant
button down, slowly turn the Rheostat Dial while watching
your dog's reaction. Do not turn the Rheostat Dial rapidly,
because the receiver/collar will emit a static correction
based on the level of the Rheostat Dial, which might not
be correctly reflected on the LCD screen.
9. Attaching the Belt Clip
Follow the instructions below to attach the included belt
clip to the transmitter.
1. Align the belt clip to the grooves on the back of the
transmitter.
2. With a firm grip, screw on the belt clip's Phillips head
screws with a screwdriver.
Caution! Tighten until firmly in place. Be careful not to
over tighten.
22
10. Using the Test Light
1. Turn on the receiver/collar by pressing the on/off
button. The indicator light will come on for a moment
then blink once every 4 seconds, showing that the collar
is ready to use (the receiver needs to be charged if the
indicator light is red).
2. Turn the transmitter on by holding down the on/off
button on the right side of the transmitter. The LED will
blink every 4 seconds and the LCD screen will show the
remaining battery life.
3. Place the test light, included in the package contents,
on the contact points as shown in the diagram.
4. Watch the test light as you push the Nick button on the
transmitter. It should light up for just a moment. The
higher the intensity, the brighter the test light will be.
5. Watch the test light as you push the Constant button on
the transmitter. It should light up as long as the button
is pressed. However, as a safety feature, the receiver/
collar will automatically stop the stimulation if the
Constant button is pressed for 12 seconds or longer.
23
