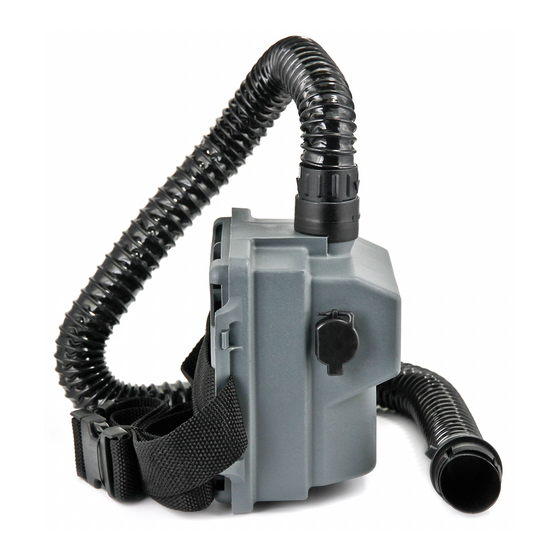
3M Air-Mate PAPR 231-01-30 사용자 지침 - 페이지 10
{카테고리_이름} 3M Air-Mate PAPR 231-01-30에 대한 사용자 지침을 온라인으로 검색하거나 PDF를 다운로드하세요. 3M Air-Mate PAPR 231-01-30 17 페이지. Belt-mounted high efficiency powered air purifying respirator
3M Air-Mate PAPR 231-01-30에 대해서도 마찬가지입니다: 매뉴얼 (2 페이지)

ASSEMBLY
Breathing Tube
To connect the breathing tube to the PAPR unit, insert the breathing tube (male end with pin) into the PAPR
unit and twist clockwise to lock in place.
To connect the breathing tube to the headgear, see the appropriate headgear User Instructions.
Battery Installation
1. Remove the back cover and the filter from the PAPR unit.
2. Insert the battery pack into its compartment and press it down to seat in place. This action will engage
the battery terminals in the socket on the side of the battery pack. (Fig. 2)
3. Slide the battery pack clip under the slot on the housing to hold in place.
4. Assure that the filter gasket is properly installed in the grove on the housing.
5. Replace the filter with arrows pointing in towards the battery.
6. Snap the back cover into place.
Fig. 2
Battery Charging
A completely exhausted battery pack should be charged for 16 to 24 hours. To use the 3M smart battery
charger, place the charging station horizontally on a flat surface and plug the station AC power cord into a
regulated 120v-60Hz outlet. The green LED light will turn on.
Insert the charging lead into the socket in the side of the blower/filtration unit. Alternatively, the battery can
be removed from the blower/filtration unit and charged using the external charging adapter (sold separately as
part number 520-04-24). The LED will turn off, indicating that the battery pack attached is being charged in
a high rate mode. After approximately eight hours (depending on the amount of charging required) the LED
will turn back on, indicating that the charger has switched to a trickle rate mode, preventing damage to the
10
