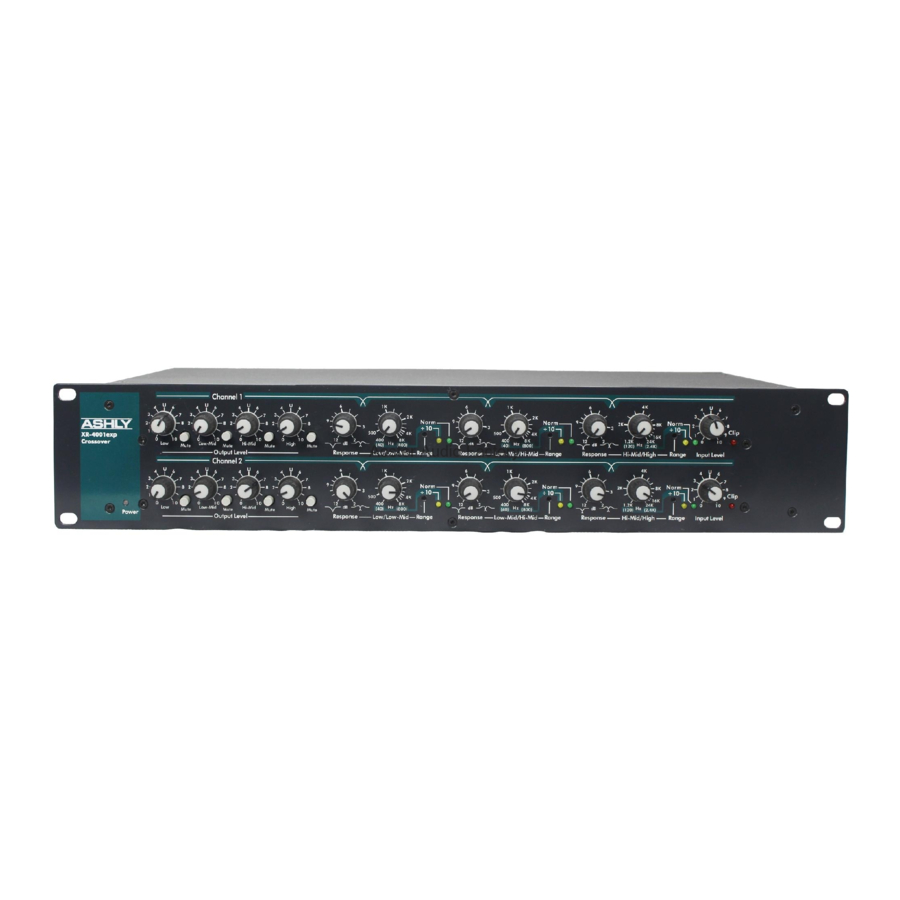
Ashly XR-1001 운영 매뉴얼 - 페이지 6
{카테고리_이름} Ashly XR-1001에 대한 운영 매뉴얼을 온라인으로 검색하거나 PDF를 다운로드하세요. Ashly XR-1001 8 페이지. Electronic crossover
Ashly XR-1001에 대해서도 마찬가지입니다: 운영 매뉴얼 (13 페이지), 브로셔 (1 페이지), 운영 매뉴얼 (16 페이지), 기술 노트 및 사양 (2 페이지)

Page - 6
Typical Applications
Introduction - 2
XR Crossovers– 3
Connectors & Cables – 3
Physical Description - 4
Installation – 5
Typical Applications - 6
Connecting
Speaker Placement
Stereo 2-Way
Mono 3-Way
Troubleshooting - 7
Dimensions - 7
Specifications - 8
Warranty - 9
The following information will help you make the most of your new crossover:
Connecting to a Sound System
Usually, the output signal from a final processing source such as a limiter or equalizer is
fed to a crossover input and each crossover output feeds a power amplifier channel.
Sometimes limiters are used on each crossover output to provide more accurate protection.
Speaker Placement
To obtain maximum benefit from your crossover, a correctly assembled speaker array is a
necessity. Low frequency speakers should be grouped as closely together as possible and
mid and high frequency horns should be stacked on top of one another, not side by side.
This arrangement insures a tight vertical pattern combined with wide horizontal dispersion
free from high frequency lobing. If at all possible, speakers in the array should be arranged
so the drivers and cones are all in the same plane (equal distance from the listener).
XR 1001 Stereo 2-Way Operation
The XR 1001 can be used as a stereo 2-way crossover with an optional mono sub output.
The mono low output is the summed signal from both channel's low output level controls.
XR 1001 Mono 3-Way Operation
The XR 1001 can also be used as a mono 3-way crossover by pressing in the Mode switch.
Use channel 2 input only. With the Mono 3 Way mode switch pressed in, all active
outputs will have their status LED light up. See illustration for proper use and wiring.
Operator Manual – XR 1001 Crossover
Copyright© 2012 – Ashly Audio Inc.
