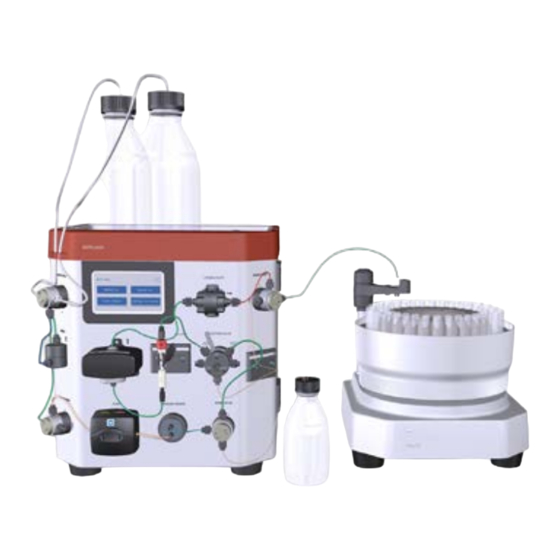
cytiva AKTA start 유지 관리 카드 - 페이지 11
{카테고리_이름} cytiva AKTA start에 대한 유지 관리 카드을 온라인으로 검색하거나 PDF를 다운로드하세요. cytiva AKTA start 14 페이지.

Replace the tubing and connectors
Maintenance interval
Replace tubing and connectors when the tubing is
clogged or bent so that the flow is obstructed, or
when leaking.
Note: Before starting to replace tubing and connectors,
clean the system flow path with DM water, then remove
the inlet tubing from water.
Instruction
1. Unscrew the connectors, and disconnect the
tubing.
2. If the tubing has labels, remove the labels and
use them with the new tubing later. Discard the
old tubing and connectors.
3. Cut the new tubing to the same length as the
original tubing. Use a tubing cutter to get a
straight cut.
4. Mount the connectors on the tubing.
5. Insert the tubing with connector into the port.
Make sure to insert the tubing all the way into
the bottom of the port.
6. Tighten the connector fully.
Note: To replace the Pump tubing (part no.
29024012), follow the instructions presented in
the ÄKTA start Maintenance Manual.
Cleaning the Fraction collector
Maintenance interval
Clean the Fraction collector when required, for
example in case of liquid spill in the Bowl assembly.
Required solutions
•
Water
•
20% ethanol
•
Cleaning cloth
Instruction
1. Check that no run is in progress.
2. Switch off ÄKTA start and disconnect the Frac30
Cable.
3. Remove the collection tubes from the Bowl
assembly.
4. Gently move the Dispenser arm
counterclockwise to the end position (1).
5. Push the drive assembly and hold it at the
retracted position (2).
6. Lift and remove the Bowl assembly (3).
ÄKTA start Maintenance Cue Card, 29024043 AF
7. Wash the Bowl under a water tap. Use a mild
detergent if required, and rinse thoroughly with
water.
8. Wipe the surface with a damp cloth. Wipe off
stains using water.
9. Let the Bowl assembly dry completely before
re-assembling.
10. Re-assemble the Bowl assembly on to the Base
unit:
•
Orient the Bowl to match the aligning groove
and the aligning features on the bowl holder (1)
•
Lower the bowl assembly on to the Base unit (2)
and push the drive assembly to allow the Bowl
assembly to get in position (3).
Storage of the
instrument
Short term storage
If the system is not going to be used for 1-2 days,
prepare the system for short term storage.
Storage solution:
Note: Before cleaning the flow path, remove the column
and re-connect the flow path.
Instruction
1. Immerse the buffers and the sample inlet tubing
DM water
11
