Ega Master EGATRONIK 사용 설명서 - 페이지 6
{카테고리_이름} Ega Master EGATRONIK에 대한 사용 설명서을 온라인으로 검색하거나 PDF를 다운로드하세요. Ega Master EGATRONIK 13 페이지. Non-contact ac voltage detector
Ega Master EGATRONIK에 대해서도 마찬가지입니다: 사용 설명서 (17 페이지), 사용 설명서 (16 페이지)

ENGLISH
This Operating Manual covers infomation on safety and cautions. Read and understand all of
the instructions and safety information in this manual before operating or servicing this tool. Failure
to understand how to safely operate this tool could result in an accident causing serious injury or
death.
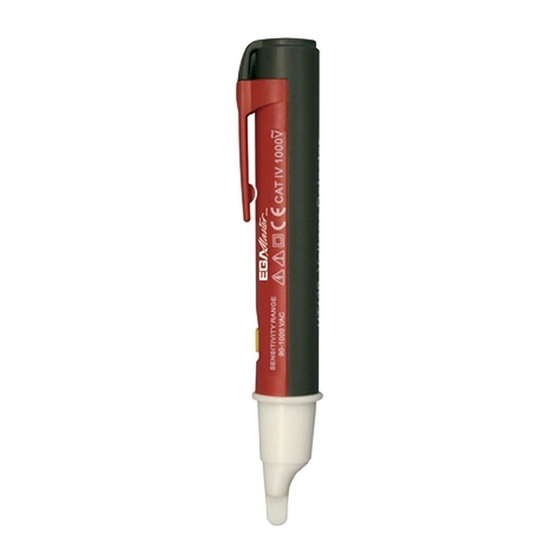
The non-contact AC voltage detector is intended to check for the presence of AC voltage,
signaling the user with a beep and a flashing LED.
This unit complies with the standards EN61010-1, UL61010-1 and CASC 22.1 No. 61010-1
safety measurement requirement: in pollution degree 2, overvoltage category (CAT. IV 1000V).
CAT.lV: Primary supply level, overhead lines, cable systems etc. Some examples include cables,
meters, transformers, and other exterior equipment owned by the power utility.
Use the unit only as specified in this operating manual, otherwise the protection provided by the
unit may be impaired.
• Do not use the unit if it is wet, damaged or cannot operate correctly.
• Do not apply more than the rated voltage between the probe tip and earth ground.
• When the unit working at voltage over 30V in AC, special care should be taken for there is
danger of electric shock.
• Follow the local countries safety requirements and standards.
Warning
• This unit is only designed for the specialist who has certain technical knowledge to use.
• This unit is intended to check for the presence of AC voltage, the voltage range is 90~1000V.
Make sure the tested inductor possible voltage range before carrying out checking.
• When you cannot sure the tested inductor voltage range, the unit does not have any response.
It does not mean the tested inductor does not have dangerous voltage, do not use any part of the
body to touch the tested inductor.
• When carrying out checking, keep your fingers behind the probe tip finger guards.
6
OVERVIEW
