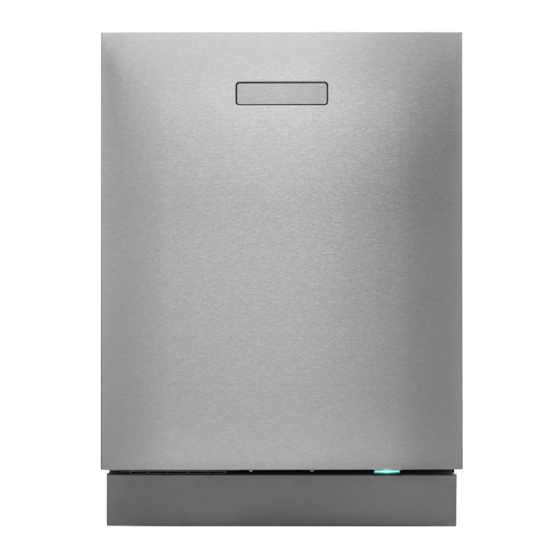
Asko DBI663IS 설치 지침 매뉴얼 - 페이지 4
{카테고리_이름} Asko DBI663IS에 대한 설치 지침 매뉴얼을 온라인으로 검색하거나 PDF를 다운로드하세요. Asko DBI663IS 8 페이지.
Asko DBI663IS에 대해서도 마찬가지입니다: 디자인 매뉴얼 (20 페이지)

Adjust the height and slide the
dishwasher into place
1 Start by measuring the height from the floor to the bottom edge of
the countertop.
2 Measure the height from the floor to the top edge of the dishwasher.
3 Lean the dishwasher forward a little and roughly adjust the rear foot
by turning the adjustment screw at the front clockwise to raise and
counterclockwise to lower the dishwasher (see illustration below).
Use a flat head screwdriver or a socket screwdriver.
4 Adjust the front feet by turning them clockwise to raise and
counterclockwise to lower the dishwasher.
5 Verify there is an air gap of at least 1/8'' between the underside of
the countertop and the top edge of the dishwasher.
6 Slide the dishwasher into place.
Pull the drain and supply hoses through the opening as the
dishwasher is slid into place.
Check that the hoses have no kinks or sharp bends, and check
that there is nothing that can damage the hoses.
7 Make any final adjustments to the feet (the dishwasher may lean
no more than 1/4'') and tighten the lock nuts on the front feet.
4
2x
5/8''
1''
Drain connection
This dishwasher is suitable for installing in a raised recess (to attain
an ergonomic working height). This means that the dishwasher can be
placed so that the drain hose runs to a lower level than the bottom of
the dishwasher, such as by routing it directly to a floor drain. The
dishwasher is fitted with an integrated anti-siphon device to prevent
the machine from being emptied of water during the wash cycle.
Max. 37 3/8''
The drain hose can also be connected to a connection nipple on the
sink unit's water trap. The connection nipple must have an internal
diameter of at least 1/2''.
The drain hose may be extended by a maximum of 87" (2.2 m) (the
total length of the drain hose must not exceed 177" (4.5 m)). Any joins
and connecting pipes must have an internal diameter of at least 1/2''.
However, the drain hose should ideally be replaced with a new hose
without joins.
No part of the drain hose may be more than 37 3/8'' above the bottom
of the dishwasher.
Ensure that the drain hose has no kinks.
Connection to water supply
Use only the inlet hose supplied with the dishwasher. Do not re-use
old or other spare hoses.
The supply pipe must be fitted with a water supply valve. The water
supply valve must be easily accessible, so that the water can be shut
off if the dishwasher has to be moved.
Once the installation is complete, turn on the water supply valve and
allow the pressure to settle for a while. Check that all connections are
watertight.
Water supply
The machine can be connected to either a cold or a hot (max. 140 °F
(60 °C)) water supply. The water pressure should be 4.2-140 psi.
min.
1/2''
