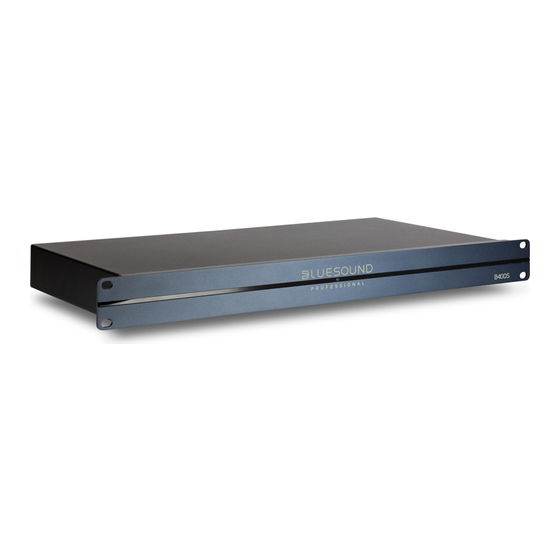
Bluesound B400S 소유자 매뉴얼 - 페이지 7
{카테고리_이름} Bluesound B400S에 대한 소유자 매뉴얼을 온라인으로 검색하거나 PDF를 다운로드하세요. Bluesound B400S 10 페이지. 4 zone

9 +12V TRIGGER IN/OUT/IR IN
• The 12V TRIGGER/IR IN terminal block is divided into three
sections - 12V TRIGGER IN, 12V TRIGGER OUT and IR IN.
•
Connect +12V TRIGGER IN terminals to compatible external
+12V TRIGGER source and +12V TRIGGER OUT terminals to
compatible external equipment that is equipped with a +12V
TRIGGER input.
•
On the other hand, connect the IR IN section terminals to the
output of an IR (infrared) repeater (Xantech or similar) or IR
output of a compatible device to allow control of B400S from
a remote location.
•
Install the wired up 12V TRIGGER/IR IN terminal block to
B400S's +12V TRIGGER/IR IN rear panel terminal.
+12V TRIGGER IN/OUT
• The +12V TRIGGER IN allows the B400S to be remotely
switched from standby mode to operating mode and vice-versa
by ancillary equipment such as a preamplifier, AV processor, etc.
The controlling device must be equipped with a +12V trigger
output to use this feature.
• The +12V TRIGGER OUT is used for controlling external
equipment that is equipped with a +12V TRIGGER input. With
+12V TRIGGER (ON/OFF) switch set to OFF, this output will be
12V when the B400S is at operating mode and 0V when it is at
standby mode or powered OFF.
• Refer also to the item about "12V TRIGGER (ON/OFF)".
IR IN
• To program IR Remote commands into your B400S via IR IN,
go to the Settings menu of the BluOS App, select Player and
then IR remote. Simply select the function desired from the IR
Remote menu, point an IR remote control at the IR repeater and
press the button to perform that function. Once successful, a
check-mark will appear beside the programmed function. You can
now use the IR remote control to command the B400S with the
programmed functions.
10 SIGNAL BLOCK
• Magnetic switch, surface mount contacts or similar devices can
be hooked-up via the SIGNAL BLOCK terminals 1 and GND. Refer
to your device's installation procedure for proper connection with
B400S.
• Depending upon your alarm or control system's configuration and
Doorbell settings in the BluOS App, corresponding activation of
your device will immediately interrupt current source and Chime
tone or melody will be heard.
• SIGNAL BLOCK terminals +5V and 2 allocations will be defined
in future software update.
11 AC MAINS INPUT
• The B400S comes supplied with two separate AC power cords.
Select the AC power cord appropriate for your region.
• Before connecting the AC power cord plug to the mains power
source, ensure that it is firmly connected to B400S' AC Mains
input socket first. The B400S will power up upon connecting the
AC power cord plug to a live mains power source.
• Always disconnect the AC power plug from the mains power
source first, before disconnecting the other end of the AC power
plug from the B400S' AC Mains input socket.
IDENTIFICATION OF CONTROLS
MAKING THE MOST OF YOUR B400S
Download the BluOS Controller App from the respective App stores of
Apple iOS devices (iPad, iPhone and iPod), Android devices, Kindle Fire
and Windows or Mac desktops.
Launch the BluOS Controller App and explore everything from your
streaming music services, internet radio stations, networked music
collections and favorites with quick and easy single-search discovery.
Visit support.bluesound.com for more information about setup and
operation guidelines of your B400S.
7
