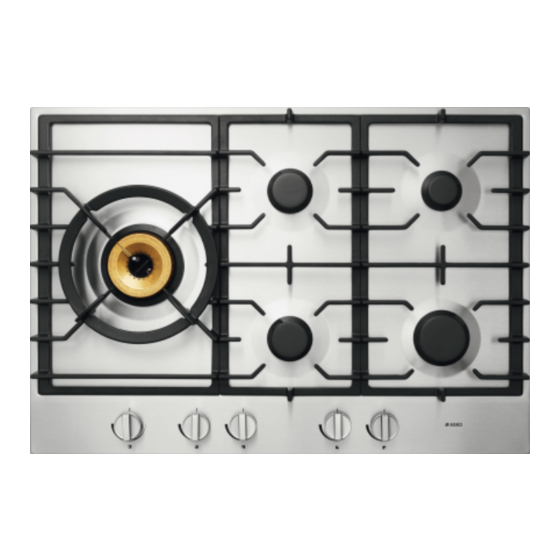
Asko T130 사용 및 관리 매뉴얼 - 페이지 10
{카테고리_이름} Asko T130에 대한 사용 및 관리 매뉴얼을 온라인으로 검색하거나 PDF를 다운로드하세요. Asko T130 12 페이지. Asko t120 cooktop: user guide

building-in dimensions
14
space required around
}
Where cupboards, drawers etc. are
located beneath the hob, there must
be a physical barrier installed at a
minimum clearance of 10 mm from
the base of the hob.
In view of the fact that gas hobs
generate quite an amount of heat it is
necessary, for safe installation, to
allow a sufficient distance between
the hob and non heat-resistant
material (see illustration).
dimensions
}
min. 600 mm for hob T120
min. 750 mm for hob T130
min. 650 mm
min. 450 mm
min. 100 mm
min. 100 mm
min. 10 mm
building-in
50
1
2*
3*
4
5
6
7
* Only necessary when an oven is fitted under the hob
Make the cut-out in the work surface.
Ensure that there is sufficient space
allowed at the sides and at the back
(see "building-in dimensions").
Make a hole in the side of the kitchen
cabinet to enable the gas pipe to be
passed through (see "building-in
dimensions").
Place the hob in the cut-out. Check that
the air inlets at the back of the hob are
clear.
Secure the hob in position. The
brackets clamp either at the sides or
underneath the work surface. Tighten
the bracket bolts sufficiently to ensure
the under seal is seating evenly on the
work surface.
Make the gas connection. Check the gas
connections with a soap/water mix
(see "Gas Connection").
Put the plug in the socket
(see "Electrical Connection").
Before Leaving - Ignite all burners both
individually and separately to ensure
correct operation of gas valves, burners
and ignition. Turn gas taps to low flame
position and observe stability of the
flame for each burner individually and
separately. When satisfied with the
hotplate, please instruct the user on the
correct method of operation. In case the
appliance fails to operate correctly after
all checks have been carried out, refer
to the authorised service provider in
your area.
15
